Managed by Brokerage Managers and Human Resources Representatives only.
The Accounts section is where you create and manage users within TotalBrokerage. This area serves as the central hub for handling all user-related settings and configurations.
Within the Accounts tab, you’ll find several sub-tabs that allow you to manage various aspects of each user’s profile and permissions.
Click the name of any tab to jump to detailed instructions:
General – Basic account settings and user information.
Details – Additional personal and contact information.
Files – Upload and manage user-specific documents.
Activity – View a log of the user’s actions and engagement.
- SMS –
- Conversations - If SMS messaging is enabled, this tab allows you to communicate directly with the user via text message. All messages are recorded within TotalBrokerage, ensuring a complete and trackable communication history.
Configuration – This is where you can activate an SMS number for the user, enabling them to send and receive text messages with their customers directly through TotalBrokerage.
Roles – Assign or modify user roles and permissions.
Commission Plan – Configure the user’s commission structure.
Fee Plan – Configure any applicable fees for the user. These fees will automatically apply to their commissions within TotalBrokerage.
Production – Track the user’s sales performance and metrics.
Email – Allows you to communicate directly with the user via email. All messages sent and received through this tab are recorded within TotalBrokerage, providing a complete communication history tied to the account.
Email Signature – Customize the user’s email signature.
Onboarding – Monitor and manage the user’s onboarding process.
Security – Reset your password and if enabled, 2FA adds an extra layer of security to your accounts.
Each tab is designed to help you streamline user management and ensure every team member has the correct setup and access based on their role in your organization.
TO GET STARTED
Navigate to the Setup > Accounts

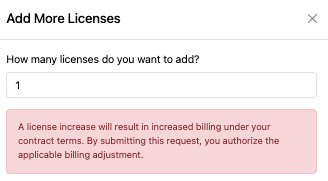
INCREASE YOUR NUMBER OF USERS (LICENSES)
- CLICK Add More Licenses

Enter the number of licenses to add and click Submit at the bottom.

ADD AN INDIVIDUAL ACCOUNT
Click "+Add an Account".

In this section, you can enter the agent’s basic information.
Required fields:
First Name
Last Name
Email Address
Offices (at least one must be selected)
You also can select the settings for:
- Protect Contacts
- Bulk Email
- Bulk SMS
- Bulk Automation and Action Plans
- Onboarding Questionnaire (To create options, go to Human Resources > Onboarding Questionnaire)
Once the selections have been made, click Submit.

GENERAL
Once you click Submit, the entered information will be populated in the fields.
You can also update this agent's contact email address here.
Each new account includes various tabs, where you can add and manage information:

NOTE: Click here for instructions for ADDING ACCOUNTS IN BULK.
DISABLE or ENABLE AN ACCOUNT
Disabling a user will prevent them from accessing TotalBrokerage, but their data will remain in the system.
Once a user is added or re-enabled, they cannot be disabled again for 30 days.
- Select the name of the user.
- In the General tab, go to Actions and select the Disable Account.
- If the account is Disabled, the selection from Actions will be Enable Account.

NOTE: once an agent has been added or re-enabled, they cannot be disabled for 30 days.
From any tab within the Account, you can use the Actions dropdown for various tasks.
Just make your selection and follow the prompts.

DETAILS
Here you can fill in the account's details. This tab allows you to view specific details about the agent/staff member.
Note: These fields can be customized by anyone with a Brokerage Manager role by going to Setup > User Fields > Brokerage > Account Details.
Click Here to access the User Fields how to article.
Click Here for a list of suggested Account Details user fields.
Be sure to click Save when you are done.

FILES
Here you can upload pdf's or images related to the account.
Note: These fields can be customized by anyone with a Brokerage Manager role by going to Setup > User Fields > Brokerage > Account Files
Click Here to access the User Fields how to article.
Click Here for a list of suggested Account Files user fields.

You can click the operation button next to a document to upload a file.
Press the edit icon next to file.
Check off the disclaimer and Select a File to Upload.
Locate the document you want to upload and press Save.


After you press save, you will see the document was uploaded into the location. Your operations menu will now allow you to view, download, edit (which is replacing the document), or delete.
You can also upload a file that is not attached to a User Field at the top right of the page under actions.
Click Here to access instructions for Uploading Account Files in Bulk.
ACTIVITY
Here, you can view all existing activities associated with the account.
If no activities are listed, this account currently has none.

To add a new activity, click the Activity Type dropdown at the top right.
Select the Type from the dropdown, enter the Description and click Add at the bottom.

The activity will be saved with a date/time stamp, along with the user who added it.
The Activity tab will also display who created the account and when.

SMS
If you have an Activated SMS number, you can send and receive text messages directly to and from an account’s mobile number. This allows for seamless communication within the platform.
Conversations: Composing Messages
- Click New Conversation

If applicable, click the dropdown selections in From and To.
Click Create when finished.

Enter the text and click Send Message.

When composing a message, you'll see a character counter. This indicates:
The total number of characters in your message.
How many individual messages will be counted against your license (SMS messages are often split into multiple segments based on length).
Message Status Icons
Each sent message is accompanied by a status icon to help you track delivery:
? Black Clock – Message has been queued and is waiting to be sent.
✅ Green Circle with Checkmark – Message was successfully delivered.
✔️ Gray Checkmark – Message was sent, but delivery confirmation is not available.
❗ Red Exclamation Mark – Message failed to send.
Incoming Calls to Your SMS Number
If someone calls your SMS number, the call will be forwarded to your mobile number as specified in your profile settings.
Additionally, an activity log will be created for the call, including its duration.
SMS Configuration
You will see a list of this account's active and previously activated SMS numbers.
To add a new SMS number, click + Activate a Number.

You can select various search criteria to narrow down your choices for a number.
You can use the Area Code, City, or even digits within the phone number. Toll-free numbers are not available for use.

Once you've made your selection, click Activate. 
NOTE: Once you activate a phone number, you may not deactivate it for one month.
If you deactivate a phone number, it is impossible to reactivate it.
ROLES
Roles define the permissions and access levels assigned to users within TotalBrokerage, much like job functions in a traditional office setting.
Users can be assigned multiple roles, each granting specific capabilities and restrictions based on their responsibilities.
Brokerage Roles

- Brokerage Manager: Manages and has access to, and can edit, all aspects of the brokerage account. This role cannot be selected with the Accountant or Office Manager roles.
- Brokerage Lead Manager: Designated recipient of all leads through the brokerage lead capture email. Only one Brokerage Lead Manager can be assigned per account.
- Brokerage Form Programmer: Responsible for creating and programming forms for the brokerage and all of the offices. This role cannot be selected with the Office Form Programmer role.
- Brokerage Lead Generator: Responsible for assigning leads to agents in the brokerage. Can create new contacts or reassign their own contacts to different agents but cannot view or edit contacts after assigning them to different agents.
- Brokerage CRM Supervisor: Responsible for supervising all contacts for the brokerage. Can view, edit, and reassign other agents' contacts in brokerage but can only communicate directly with their own contacts.
- Brokerage Marketing Coordinator: Responsible for creating and editing all email templates and automations within the brokerage.
- Brokerage Compliance Officer: Responsible for reviewing tasks within Transactions. Can approve or reject tasks based on company policies.
- Accountant: Responsible for reviewing and recording financial information of transactions. Has the ability to setup and synchronize data with Quickbooks Online. An accountant can view all transactions, but only has permission to edit financial information. This role cannot be selected with the Brokerage Manager role.
- Brokerage CRM Analyst: Gives the ability to view CRM reports for all accounts in the brokerage and not just their personal CRM information.
- Brokerage Transaction Analyst: Gives the ability to view transaction reports for all accounts in the brokerage and not just their personal transaction information. Please note that this contains financial information for agents.
- Brokerage Administrative Analyst: Gives the ability to view admin reports for the entire brokerage.
- Brokerage Human Resources Representative: Gives the ability to edit account information, create onboardings and onboard accounts into TotalBrokerage.
- Brokerage Message Board Administrator: Gives the ability to configure and rearrange message board topics for the entire brokerage.
- Brokerage Message Board Moderator: Is responsible for moderation of message board content for the brokerage. Can approve, reject, lock, and hide posts and comments on the message board.
- Brokerage Transaction Coordinator: Is responsible for managing any of the transactions for the brokerage. They will have access to all contacts and vendors for the brokerage.
Office Roles

- Office Manager: Manages and has access to all items pertaining to the specified offices and accounts within the specified offices. This role cannot be selected with the Brokerage Manager role.
- Office Lead Manager: Designated recipient of all leads through the lead capture emails of the specified offices.
- Office Form Programmer: Responsible for creating and programming forms for all of the specified offices. This role cannot be selected with the Brokerage Form Programmer role.
- Office Lead Generator: Responsible for assigning leads to agents in the specified offices. Can create new contacts or reassign their own contacts to different agents but cannot view or edit contacts after assigning them to different agents.
- Office Accountant: Responsible for reviewing and recording financial information of transactions within their specified offices. Has the ability to synchronize data with Quickbooks Online but cannot configure sync settings. An accountant can view all transactions within their specified offices, but only has permission to edit financial information.
- Office CRM Supervisor: Responsible for supervising all contacts for the specified offices. Can view, edit, and reassign other agents' contacts in office but can only communicate directly with their own contacts.
- Office Marketing Coordinator: Responsible for creating and editing all email templates and automations for the specified offices.
- Office Compliance Officer: Responsible for reviewing tasks within Transactions in the specified offices. Can approve or reject tasks based on company policies,
- Office CRM Analyst: Gives the ability to view CRM reports for all accounts in the specified offices and not just their personal CRM information.
- Office Transaction Analyst: Gives the ability to view transaction reports for all accounts in the specified offices and not just their personal transaction information. Please note that this contains financial information for agents.
- Office Administrative Analyst: Gives the ability to view admin reports for specified offices.
- Office Human Resources Representative: Gives the ability to edit account information, create onboardings and onboard accounts into TotalBrokerage.
- Office Message Board Administrator: Gives the ability to configure message board topics for the specified offices but cannot rearrange them.
- Office Transaction Coordinator: Is responsible for managing any of the transactions for the specified offices. They will have access to all contacts and vendors for the specified offices.
Other Roles

- Account Transaction Coordinator: Is responsible for managing transactions in which they are specified as a transaction coordinator for. They will have access to all contacts and vendors on each transaction.
Once you’ve selected a role for the agent, click Save at the bottom of the menu.

COMMISSION PLAN
Here you will view all Commission Plans associated with this Account.
Click on the plan name or use the dropdown menu to the right to see it's parameters.

Click Add Commission Plan to Import Existing or Create New.
Note: If you would like assistance in mass-applying commission plans to your agents, please send an email to support@totalbrokerage.com with details.
Import Existing - click the dropdown menu and make your selection.


Select Transaction Type (if applicable), Effective Date, End Date and Save.
NOTE: Commission plans with no transaction type specified will take ALL transactions into account, including those with a different commission plan selected by transaction type.
If you specify a type, the plan will only count transactions of that particular type.
For instructions on locking transaction types, see this.
Create New
A new plan will appear where you can edit the Name, Description, Type, Dates, and Tiers.

In a "Tiered" commission plan, you have additional options:
- Selecting the commission plan it is based on
- Determining whether bonus commission counts toward the agent's contribution (if enabled, any bonus commission from a transaction will be included in the plan)
- Choosing whether the plan resets on the agent's anniversary date (if enabled, it will reset based on transactions funded since the agent’s last anniversary date, and you can set the anniversary date when selecting the agent’s plan).
- Specify the funding date and add one or more tiers using the "+Add a Tier" option.


Once you are finished inputting all the information, click “Save”.
A confirmation message will pop up.
To confirm, click “Save”.
To Remove a commission plan from an Account:
- Click on the Commission Plan
- Click the pencil (edit icon)
- Enter an End Date
- Save

FEE PLAN
Here you will view all FeePlans associated with this Account.

IMPORTING A FEE PLAN
Add Fee Plan - Select the Fee Plan you want to import from the dropdown menu.
Click “Submit” to save the selection.
REMOVING A FEE PLAN
Click “Delete” next to the Plan Name

PRODUCTION
Detailed production reports for each agent are available in TotalBrokerage and can only be accessed by Office and Brokerage Managers.
To view an agent's detailed production report:
1) Navigate to Setup → Accounts
2) Find and click on the desired agent's name.

3) Proceed to the Production tab.

In the Production tab, you'll find a the Commission Information and key metrics such as:
- Number of transactions
- Commission income
- Gross commission income
- Net agent income
- Sales volume contributed by the agent
To access a detailed report:
- Click "View"
- This will take you to the Reporting module, preloading the parameters from the Production tab.
- Click "Generate Report" to view the full detailed report.
In addition to production data, the Production tab also provides Marketing information, including:
- Number of emails and texts sent by the agent since the start of the billing cycle.
- Usage data, such as:
- Total logins
- Current login streak
- Longest login streak
You can View emails that have been sent, compose an email to the Account, and Create Signature.

Select “Compose” to create an email inside TotalBrokerage.
An email template will open, and you can write your message.
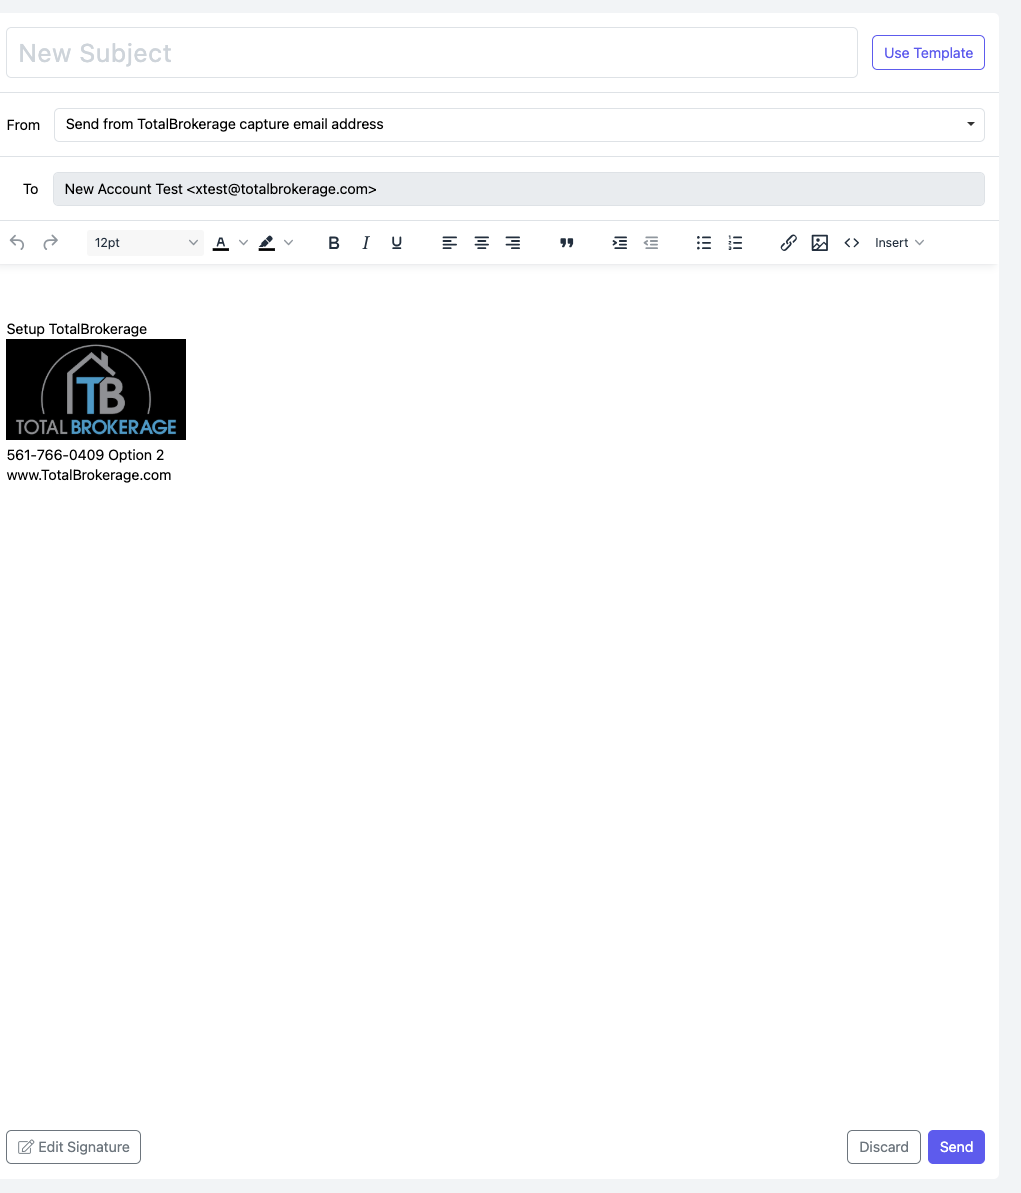
You may also send the Account a Marketing Template by clicking Use Template.
Select Send when you are ready to send the email.
To learn how to send bulk emails to multiple agent accounts, click here.
EMAIL SIGNATURE
In the Email Signature tab, you can create and manage a signature for your account.
Setting up a signature is a great way to maintain a consistent and professional format across all your outgoing emails.

Using this feature, you can:
Define a standardized signature for your account or team.
Ensure that every account has a signature set up.
Include important information like name, title, contact details, or legal disclaimers.
This helps reinforce branding, improves communication, and saves time by automatically appending the signature to each email you send.
Email signatures can include Text, images and links.
If you have HTML code that you want to import, click the <> icon in the toolbar and paste in the code.

Click Save when completed.
ONBOARDING
Please note that this is an Enterprise and Plus feature only.

Go to Actions > Onboard Account.

Choose one of the additional options:
1. Account cannot access totalBrokerage until this questionnaire is complete: This means that the account being onboarded will not be able to go into TotalBrokerages dashboard until this Onboarding is fully completed.
2. This questionnaire must be completed within a certain time frame: This makes the Onboarding due in a specific amount of hours/days and when it becomes overdue will send overdue notifications to the person being onboarded.

Click Submit.
The Agent will receive an email with a link to open and complete the Onboarding Questionnaire.
You can view the Questionnaire in the Agent's Onboarding tab.
BULK ADDING AN ONBOARDING QUESTIONNAIRE TO ACCOUNTS
Setup > Accounts
From the Actions dropdown menu, click Onboard Accounts.

The following popup will appear, allowing you to select the questionnaire for the chosen agent(s) to complete.

There are two additional options:
1. Account cannot access totalBrokerage until this questionnaire is complete: This means that the account being onboarded will not be able to go into TotalBrokerages dashboard until this Onboarding is fully completed.
2. This questionnaire must be completed within a certain time frame: This makes the Onboarding due in a specific amount of hours/days, and when it becomes overdue will send overdue notifications to the person being onboarded.
Click on Submit.
You can view the Questionnaires in the Onboarding Tab for each account.
SECURITY

Password
Click Change Password to create a temporary password for the Account.
Click Send Reset Link to Account to send a password reset email.
2FA
If 2FA has not been enabled by the Brokerage, the following will display.

To set up 2FA for the Brokerage, go to Setup > Brokerage.
To access the instructions for Agents to set up 2FA after it's been enabled Click Here.
ADDING ACCOUNTS IN BULK
Save time by adding agents in bulk to your TotalBrokerage account:
Click "Settings" in the sidebar, then select "Accounts".

In the "Accounts" tab, click "Actions" in the top-right corner, and select "Import Accounts".

Read and accept the disclaimer, then choose the CSV file you’d like to upload.
Required Columns: Make sure your CSV includes First Name, Last Name, and Email.
Match each column header to the corresponding field in TotalBrokerage and select the appropriate office for these accounts.
Note: A separate import is required for each office group.

Click Import at the bottom of the page.
Once completed, you’ll be taken to a confirmation screen that shows how many accounts were successfully added.