You can use TotalBrokerage to edit documents in letter-size or legal-size format and prepare them for electronic signature.
The Document Editor allows you to add fields such as text boxes, checkboxes, signatures, initials, dates, highlights, and strikethroughs.
You can also map text fields to automatically populate information from the transaction, including property details, contacts, financial information, and important dates.
Opening the Document Editor
- From the left navigation menu, select Transactions > View Transactions.
- Locate and open the desired transaction.
- Select the Documents tab.
- Click the name of the document you want to edit.
Note: Only documents with an Editing status can be modified.
If the document has already been signed or archived, click the three dots in the Operations column and select Copy.
You will be prompted to choose one of the following:
- Amend – Creates a copy while retaining any existing signatures and initials.
- Copy – Creates a clean copy of the document, removing all signatures, initials, and signing activity.
Document Editor Overview
The Document Editor consists of three primary panels.
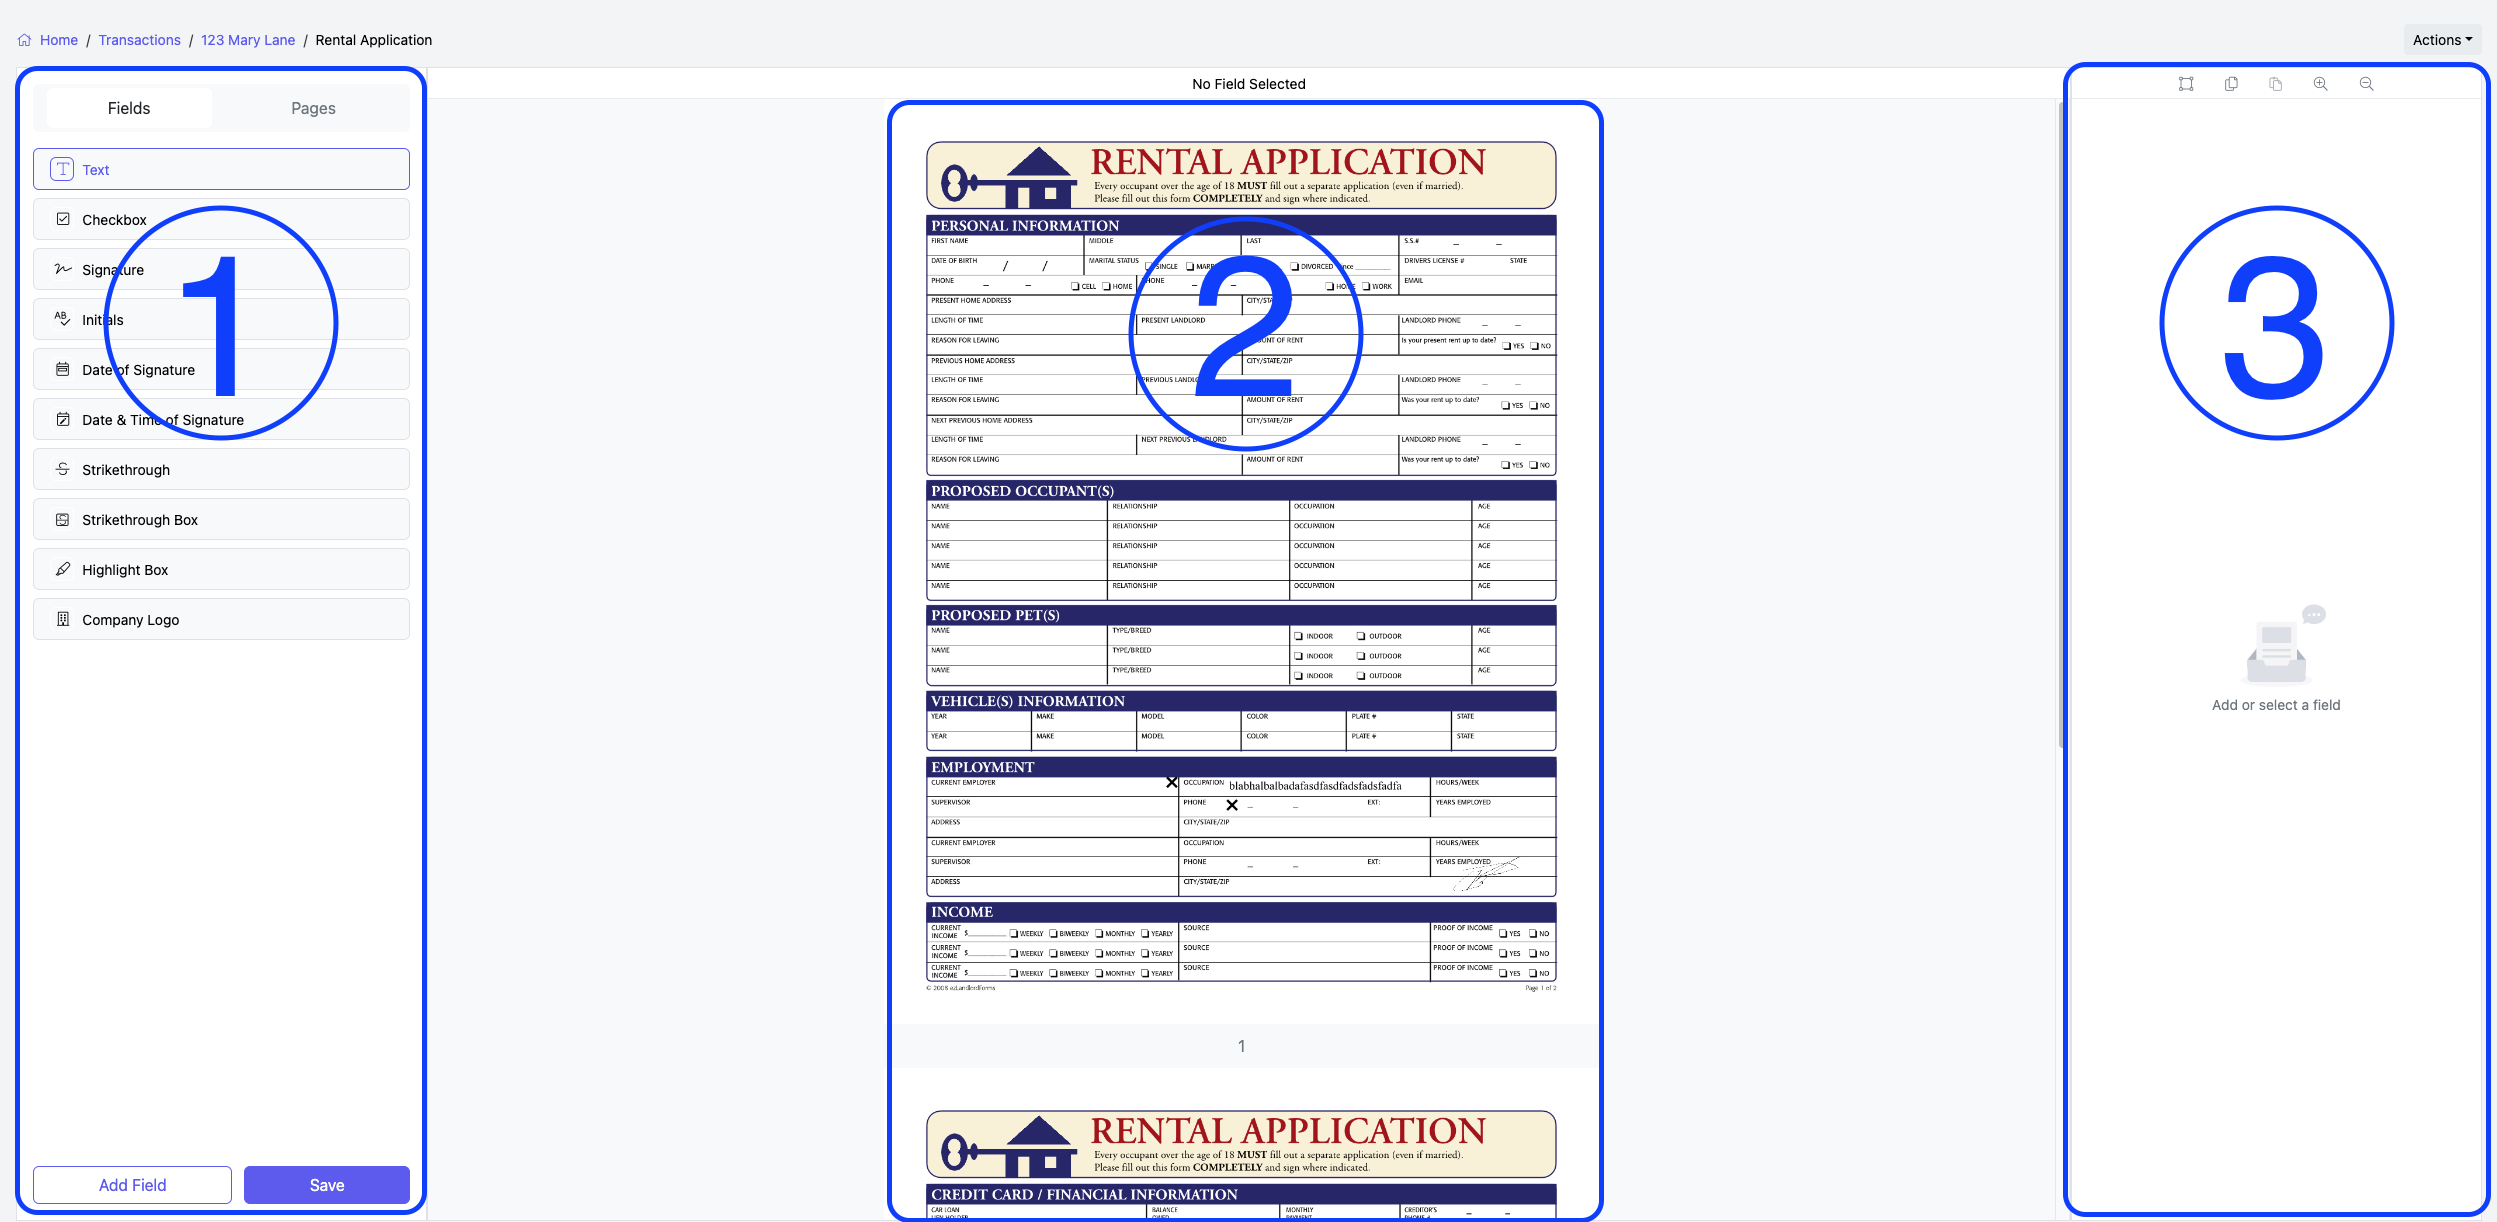
Left Panel
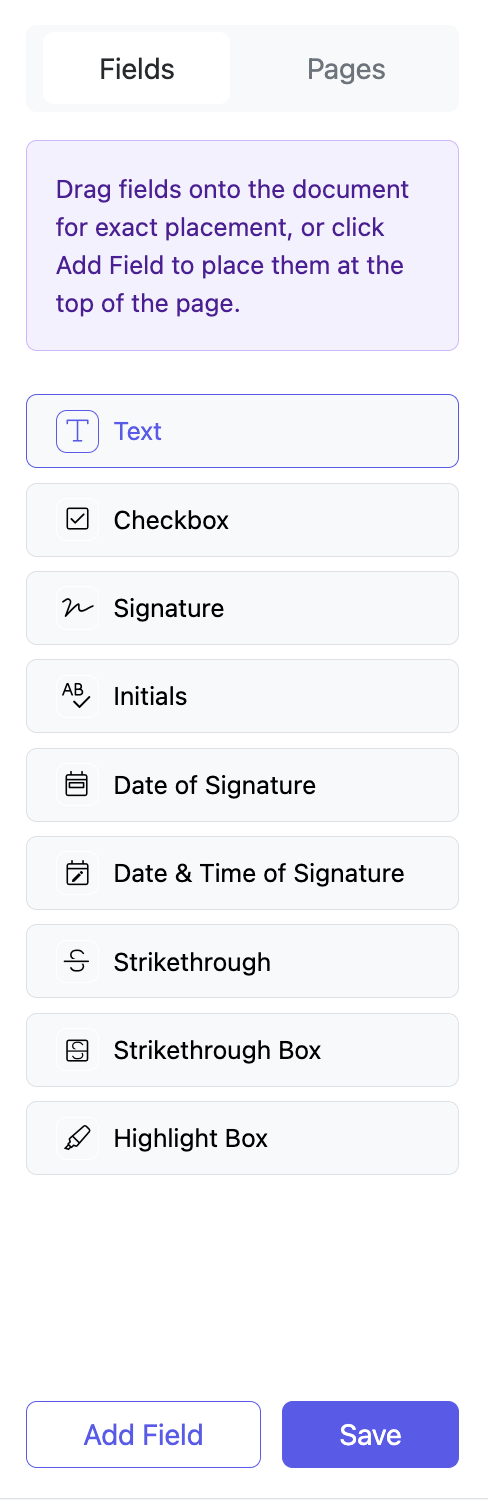
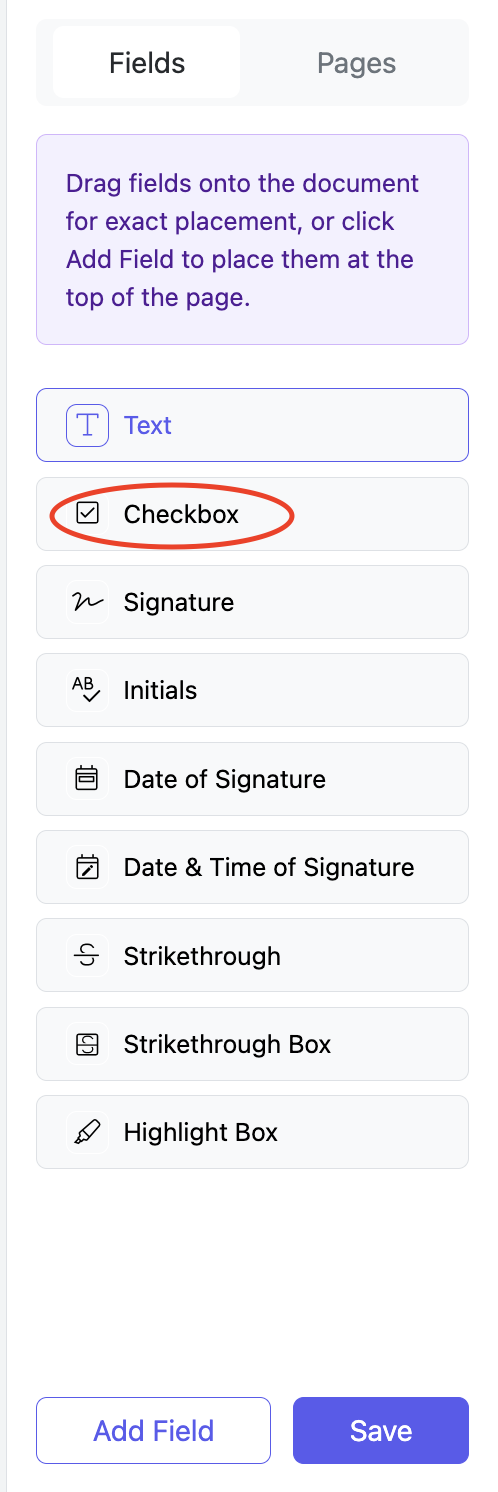
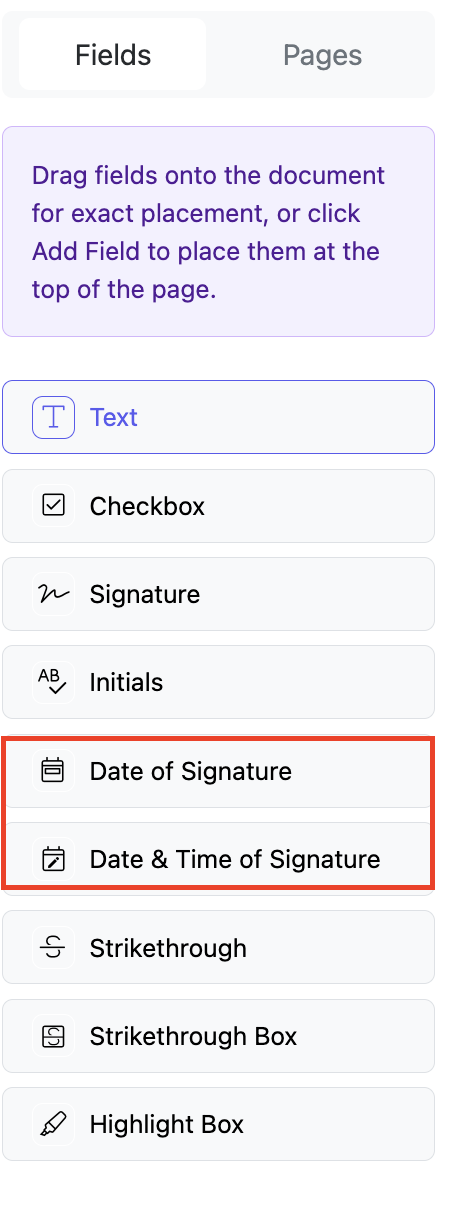
Fields
Select the type of field you want to add to the document.
You can either:
- Drag and drop a field directly onto the document.
- Select a field and click Add Field to place it at the top of the document.
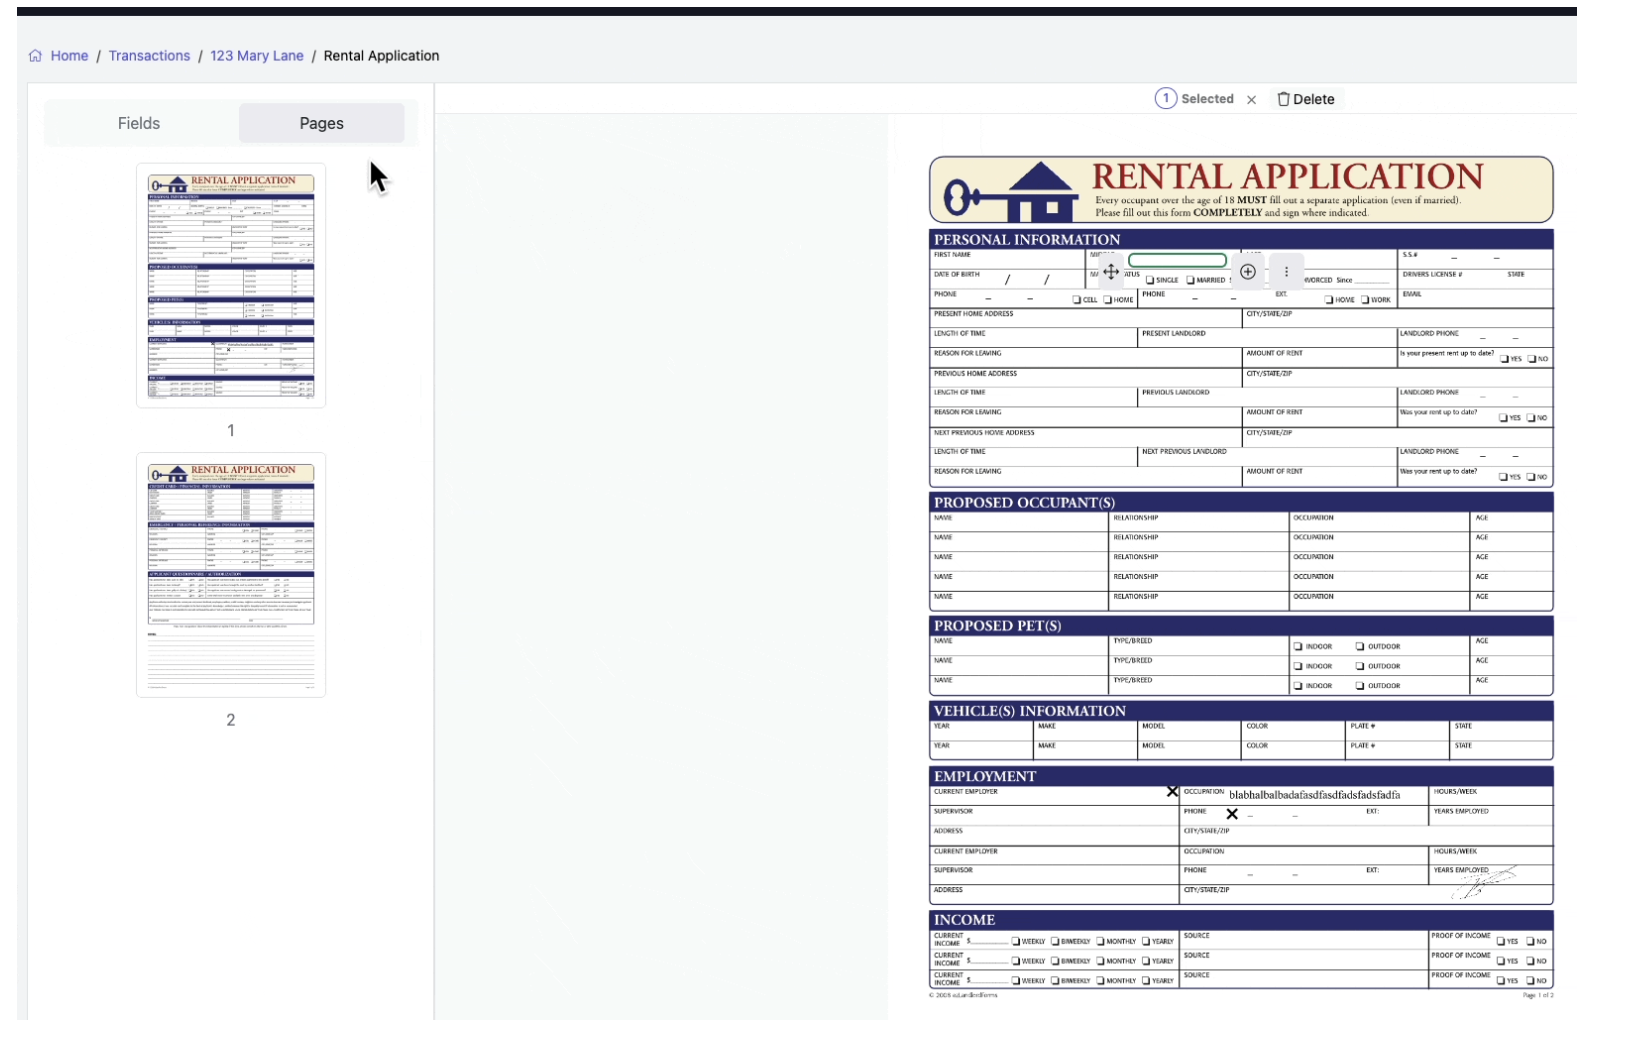
Pages
Displays thumbnails of every page in the document. Selecting a page updates the document viewer.

Save
The editor does not automatically save your work.
Select Save frequently to prevent losing changes.
Note: There is no Undo button. If you have not saved your changes, refreshing your browser restores the document to its last saved state.
Middle Panel
The document viewer displays every page of the document along with all added fields. Scroll to navigate through the document.
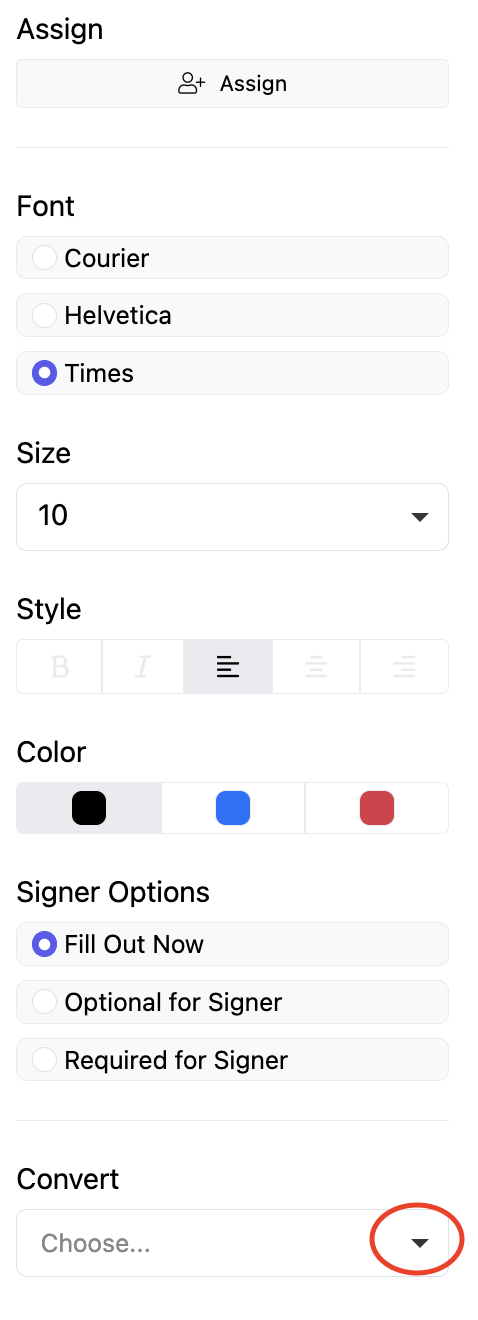
Right Panel
The right panel contains options for:
- Assigning fields
- Formatting fields
- Changing field properties
- Performing document actions
- Zoom controls
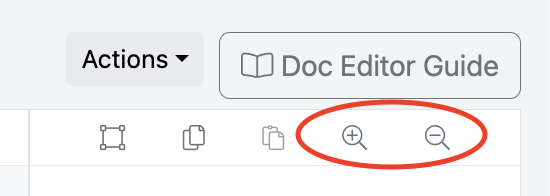
Zooming In and Out
Use the + and − controls in the right panel to adjust the zoom level.
- Zoom in for precise field placement.
- Zoom out to view more of the document.
When zoomed in, use the horizontal and vertical scroll bars to navigate around the page.
Adding a Field
There are two ways to add a field:
Option 1
Drag and drop the desired field onto the document.
Option 2
- Select the field type.
- Click Add Field.
- Move the field into position.
Moving a Field
To reposition a field:
- Select the field.
- Drag the Move (four-arrow) icon to the new location.
For precise placement, use the keyboard arrow keys to move the field one pixel at a time.
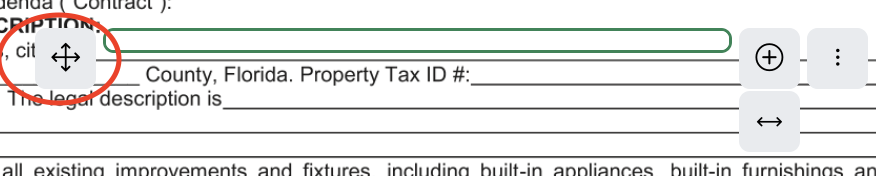
Resizing a Field
Select the field, then drag the Resize handle to adjust its width.

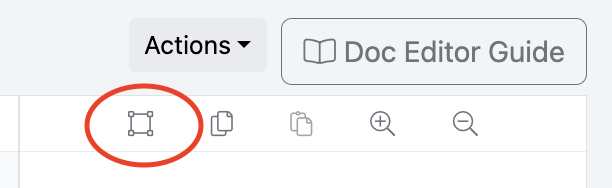
Selecting Multiple Fields
You can edit several fields simultaneously.
- Click the Multi-Select icon in the upper-right corner.
- Click and drag around the fields you want to select.
- Ensure at least half of each field is within the selection area.
After selecting multiple fields, you can:
- Delete the fields.
- Change font, color, size, style, or alignment.
- Update signer behavior.
- Copy the fields.
- Paste the fields.
- Duplicate the fields.
- Copy the fields to every page.
- Split large text fields into smaller fields.
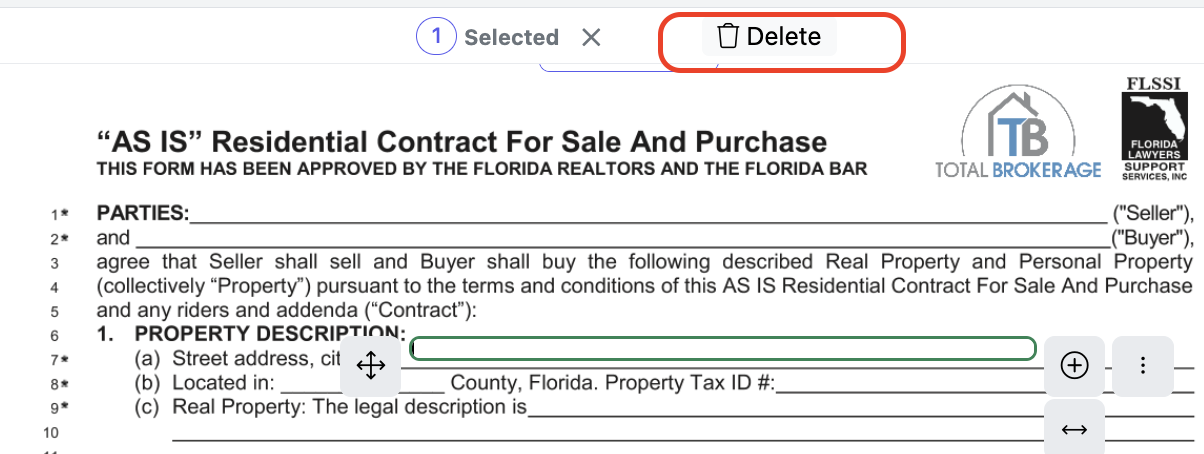
Deleting a Field
- Select the field.
- Click Delete at the top of the document viewer.
Formatting a Field
After selecting a field, click in the right panel to modify:
- Font
- Font size
- Text style
- Text color
- Alignment

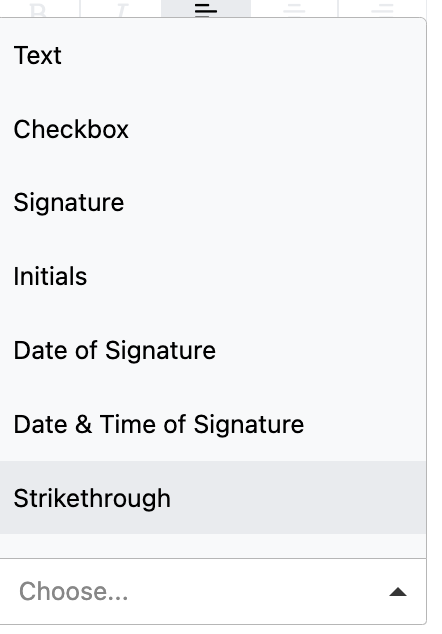
Changing a Field Type (Convert)
To convert a field to another type:
- Select the field.
- Choose the new field type from the Field Type dropdown.
The selected field is immediately converted.
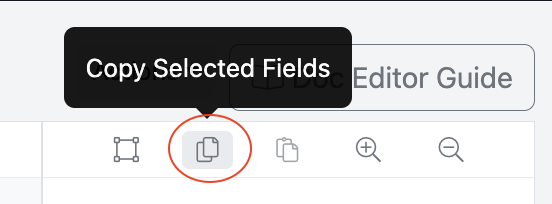
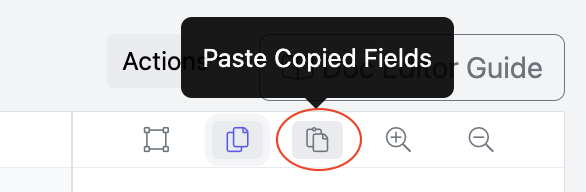
Copying a Field
To duplicate a field:
- Select the field.
- Click Copy.
- Click Paste.
- Click the document where you want to place the copied field.
Entering Text
Click inside a text box and begin typing.

Adding Multiple Lines to a Text Box
To add additional lines:
- Select the text box.
- Click the + icon.
- Use the keyboard arrow keys to align each line as needed.
You can add as many lines as necessary.
Line numbers are displayed while editing but do not appear on the finished document.
Text automatically wraps onto the next line as you type.

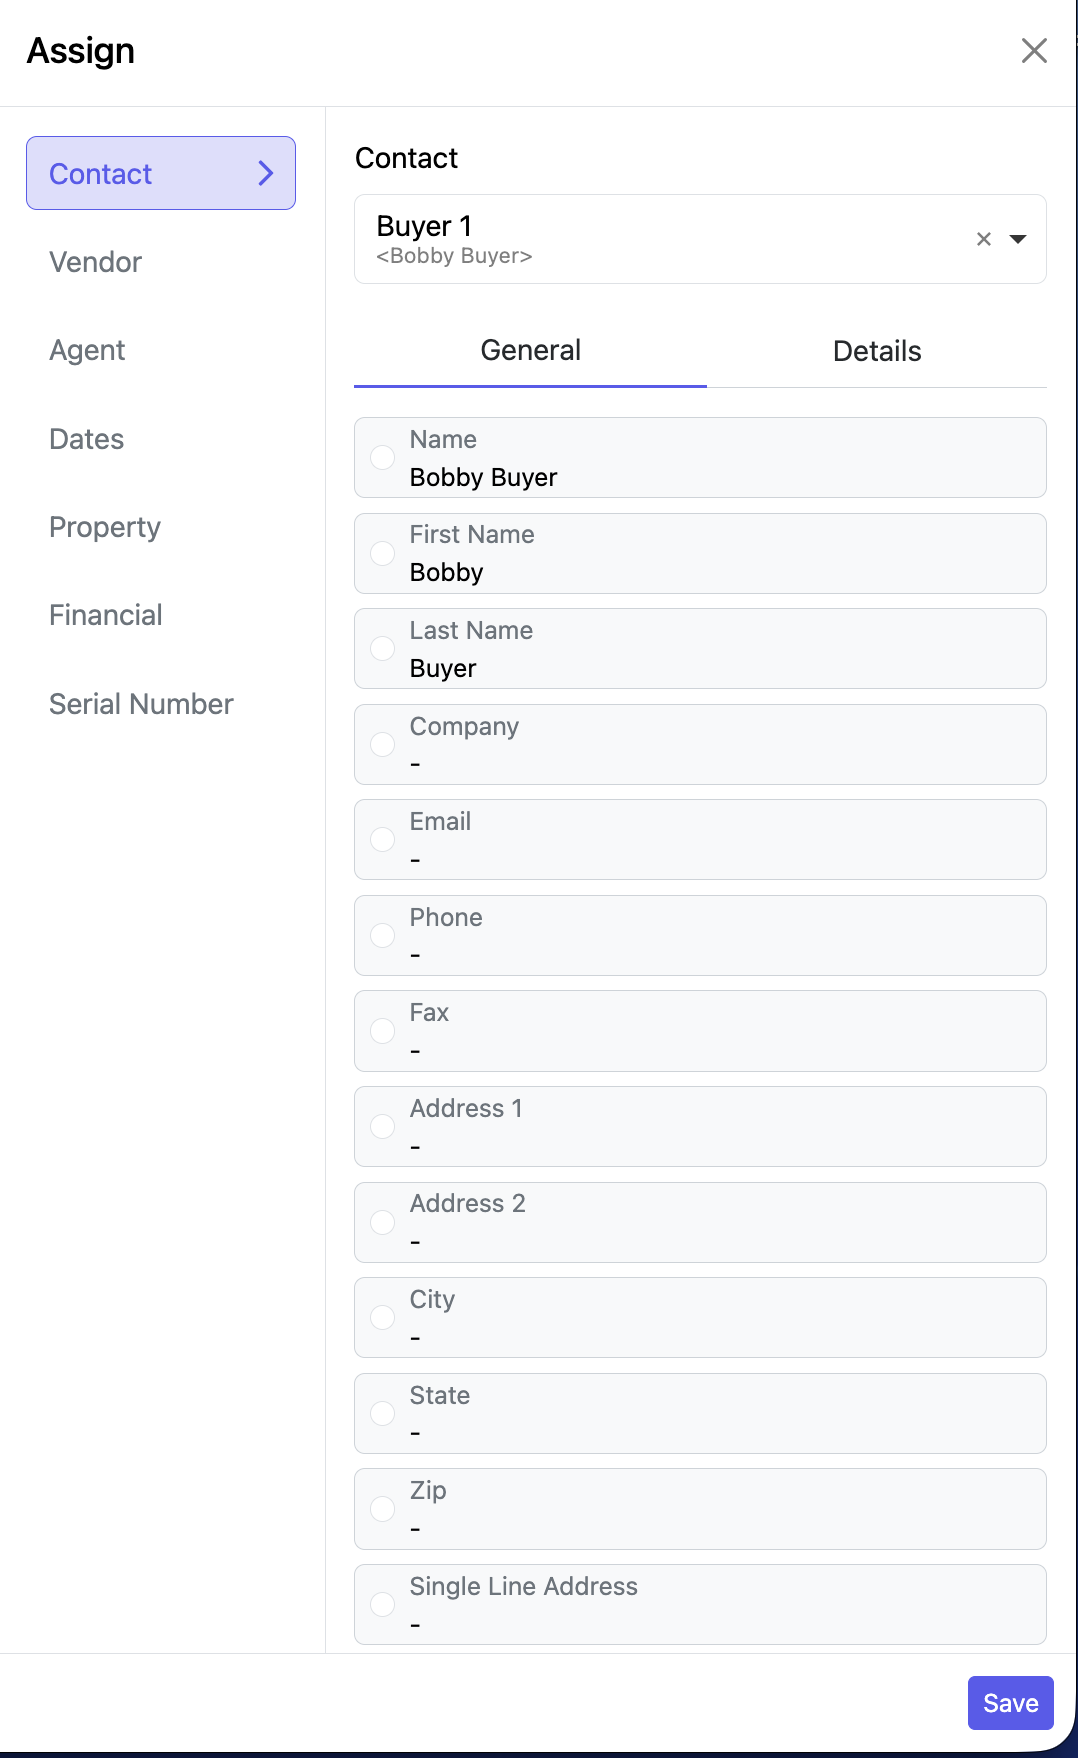
Mapping a Text Box to Transaction Information
Text boxes can automatically populate information from the transaction.
Examples include:
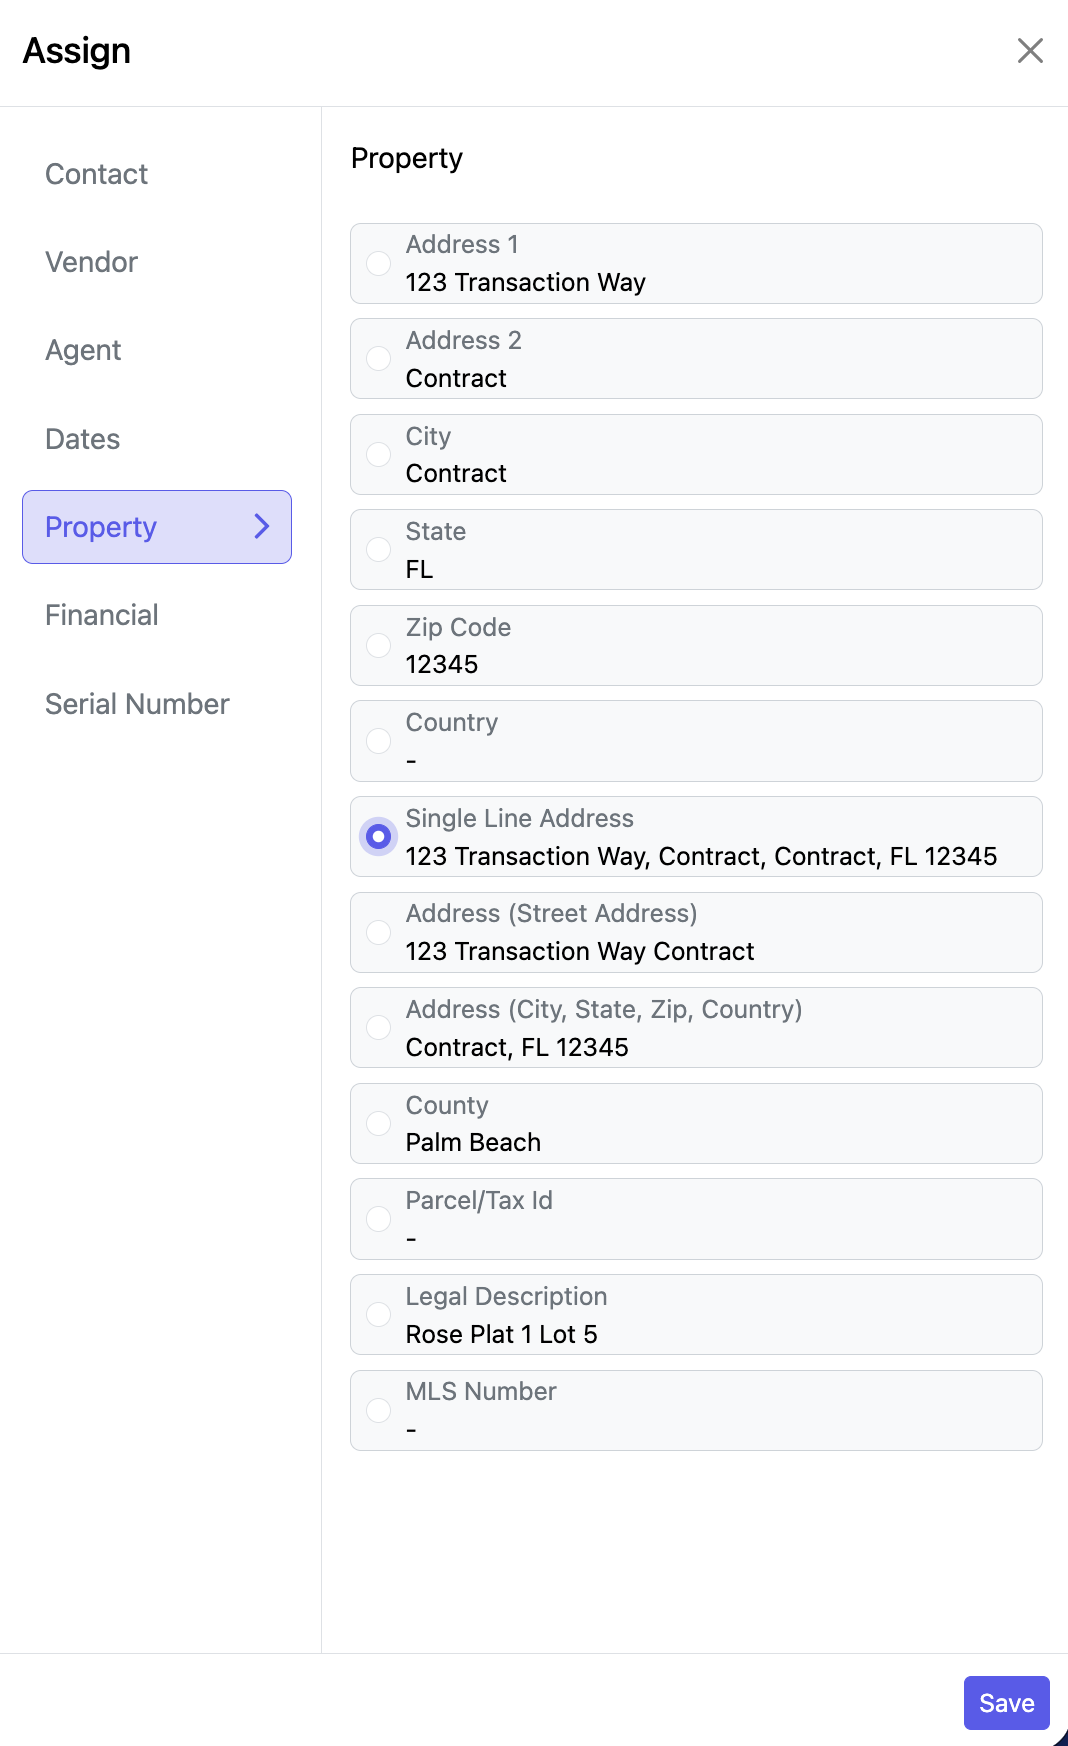
- Property information
- Financial information
- Contacts
- Dates
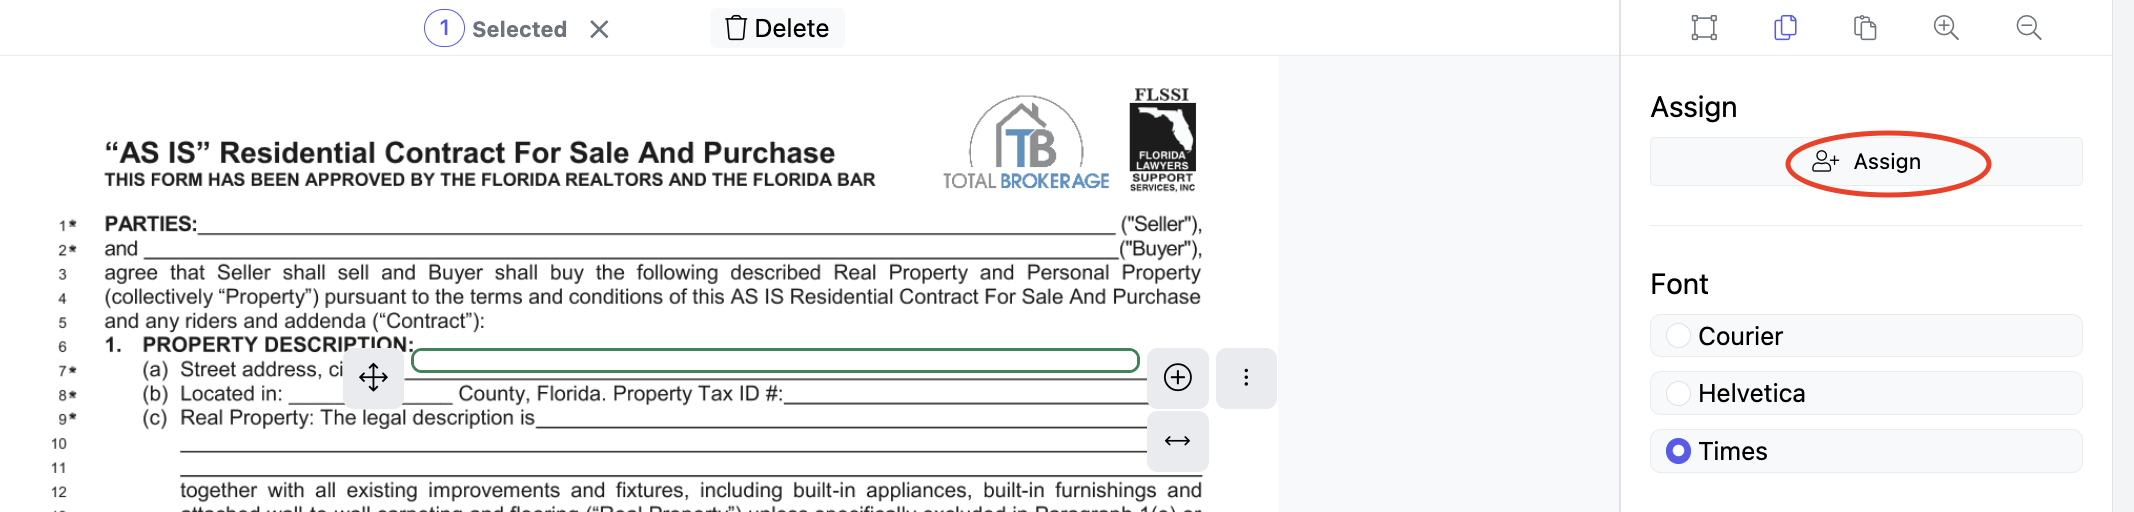
To assign a field:
- Select the text box.
- Click Assign.
- Choose the information you want to populate.
- Click Save.
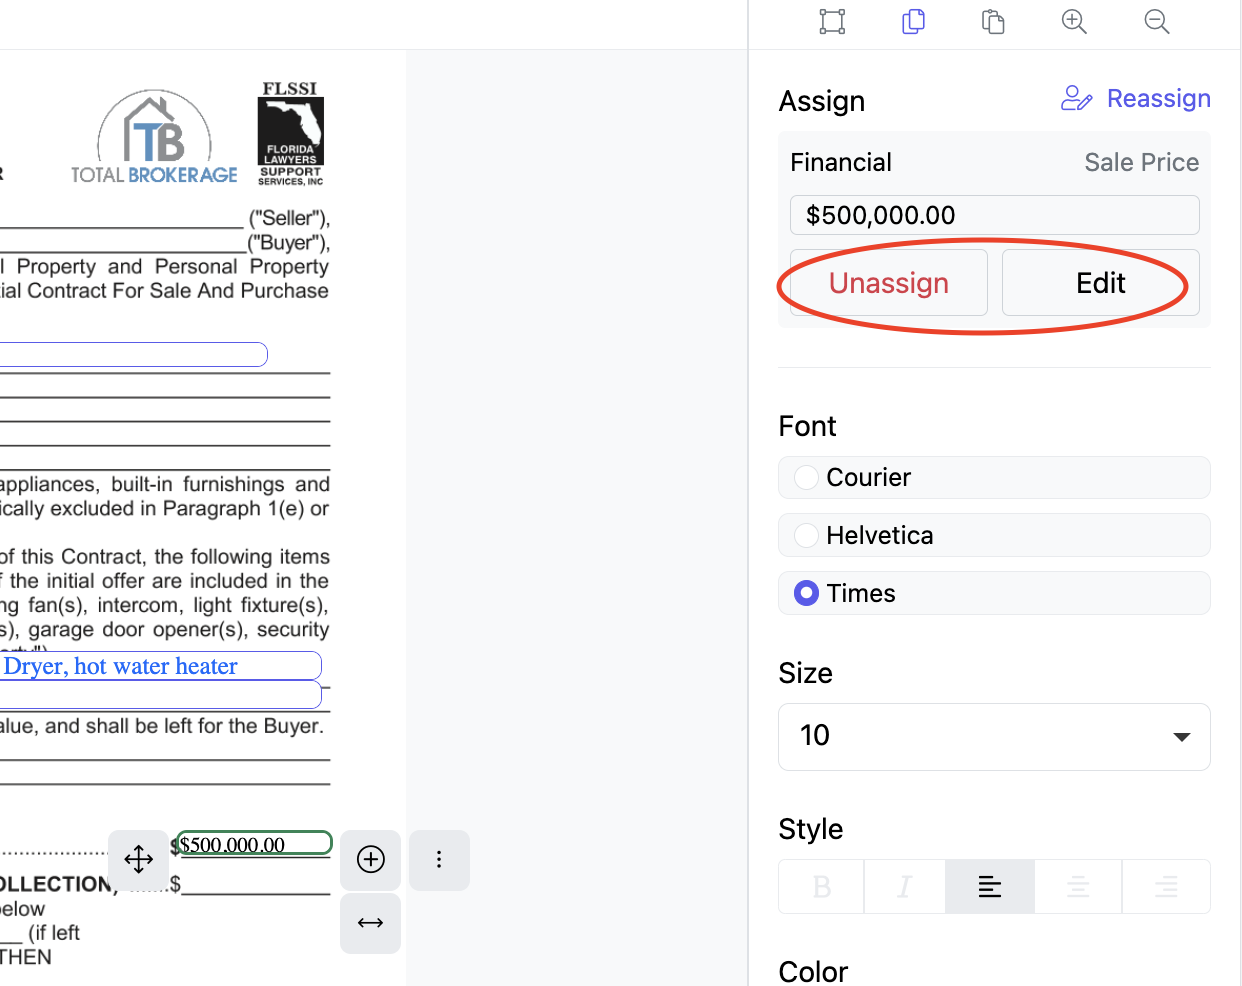
Changing or Removing a Field Assignment
Change an Assignment
- Select the mapped field.
- Click Re-assign.
- Select the new transaction field.
- Click Save.
Remove an Assignment
- Select the mapped field.
- Click Unassign Field.
- Confirm the action.
The field becomes a standard editable text box.
Adding a Checkbox
You can add a checkbox by:
- Dragging and dropping it onto the document, or
- Selecting Checkbox and clicking Add Field.
To manually check or uncheck the box while editing, double-click the checkbox.
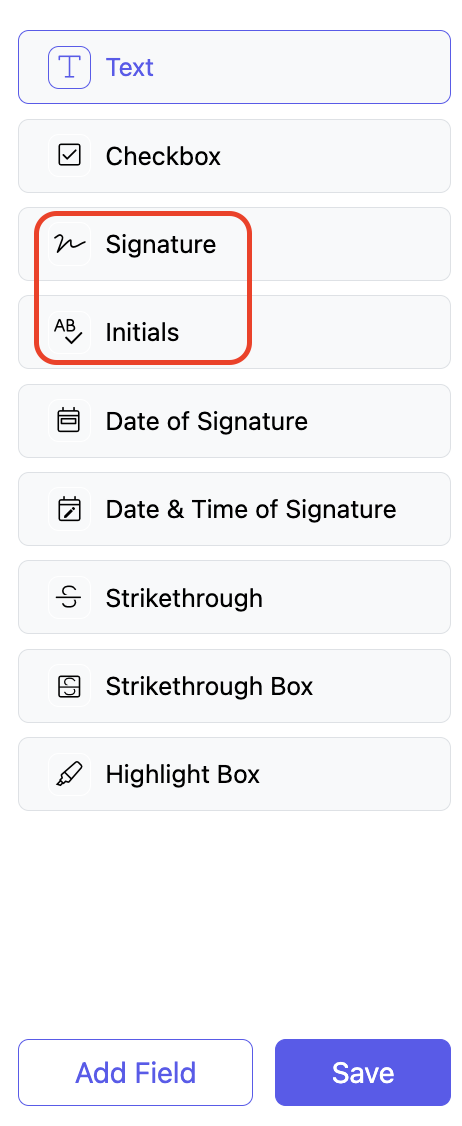
Adding Signature and Initial Fields
- Drag & drop the field to the document
- Choose the appropriate signer from the Assign dropdown.
If enabled by your brokerage, the signature & initial fields also display the signing timestamp.
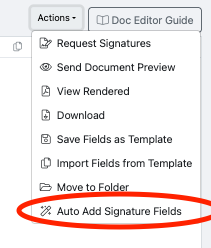
Automatically Adding Signature and Initial Fields
If your document requires multiple signature and initial fields:
- Select Actions.
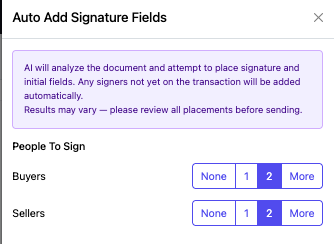
- Choose Auto Add Signature Fields.
- Select the number of signers.
- Click Add Signature Blocks.
Signature and initial fields are automatically placed and assigned to each signer.

Adding Date of Signature or Date & Time of Signature
Signature and initial fields already include the signing date (and optionally the time), depending on your brokerage's settings.
If your form requires an additional date field:
- Add Date of Signature, or
- Add Date & Time of Signature.
Note: These fields display only the date or time the signer completes the document. They are not signature fields.
Signer Options
By default, text boxes and checkboxes are set to Fill Out Now, meaning they are completed before the document is sent.
To allow a signer to complete a field:
- Select the field.
- Choose one of the following options:
- Required for Signer
- Optional for Signer
Initial fields can also be made optional using these settings.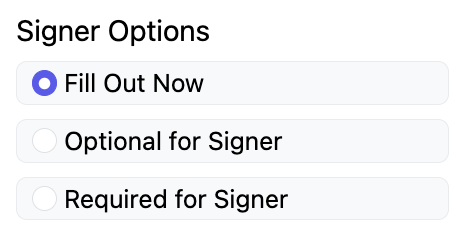
Note: Optional text fields are automatically assigned to Signer 1 when the signature request is created.
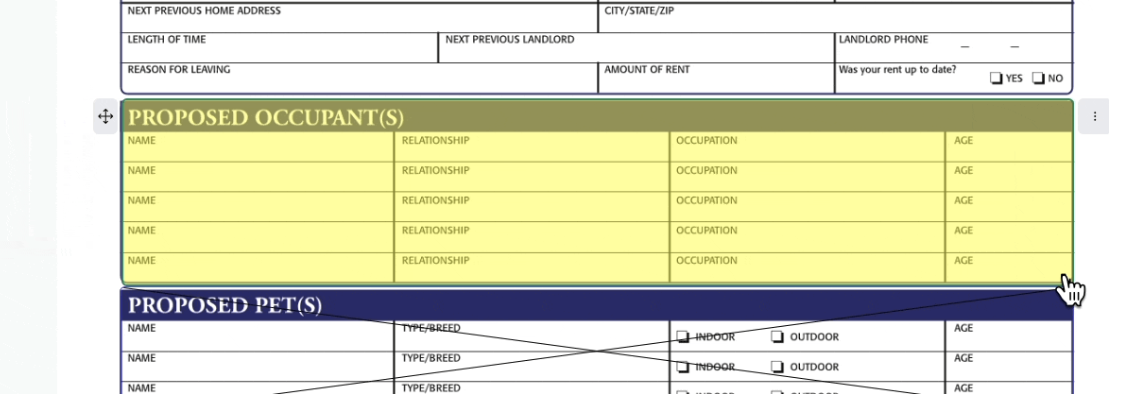
Strikethrough & Highlight Box
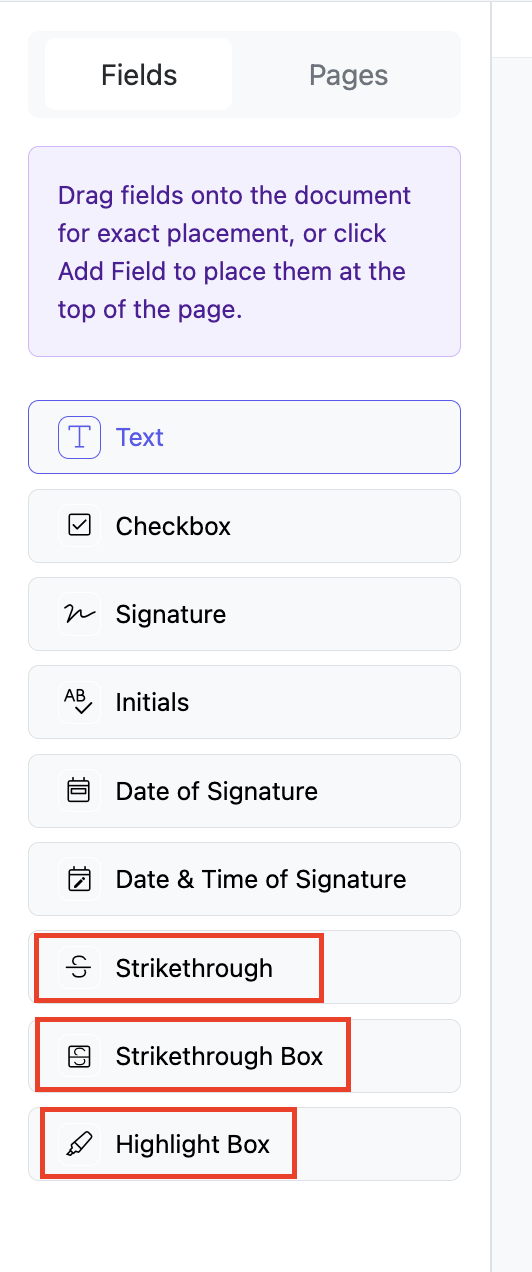
Adding a Strikethrough
Add a Strikethrough field and position it over the text you want to cross out.

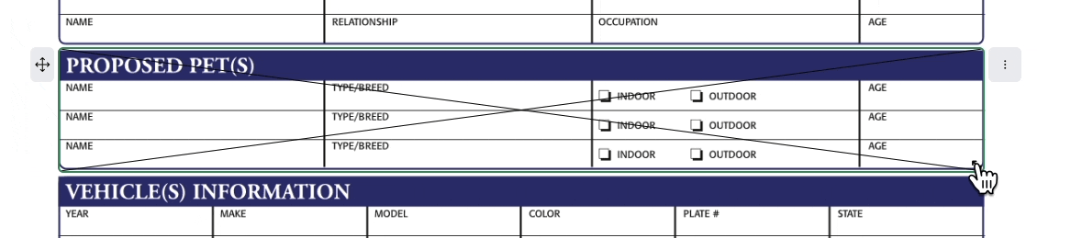
Adding a Strikethrough Box
Add a Strikethrough Box to strike through larger sections or entire paragraphs.
Adding a Highlight Box
Add a Highlight Boxto emphasize important sections of the document.