The Lightning Queue enhances your workflow by streamlining the transaction compliance review process. In this guide, we'll provide you with a comprehensive overview of the Lightning Queue and its features, along with step-by-step instructions on how to effectively use it to improve your productivity.
Accessing the Lightning Queue
Please note that the Lightning Queue is only visible to those with the Brokerage or Office Compliance Officer role.
1) To access the Lightning Queue, go to Transactions → Lightning Queue in the left sidebar.


Lightning Queue Overview
Top-Left Panel:
Here, you'll find essential information about each transaction, such as:
- Transaction Name
- Property Address
- Agent Name
- Represent Type (Buyer, Seller, Landlord, or Tenant)
- Name of Checklist
- Status of transaction
- Date and time the review was requested.
To open the Transaction page, select the square icon to the right of the transaction name.

Top-Right Panel: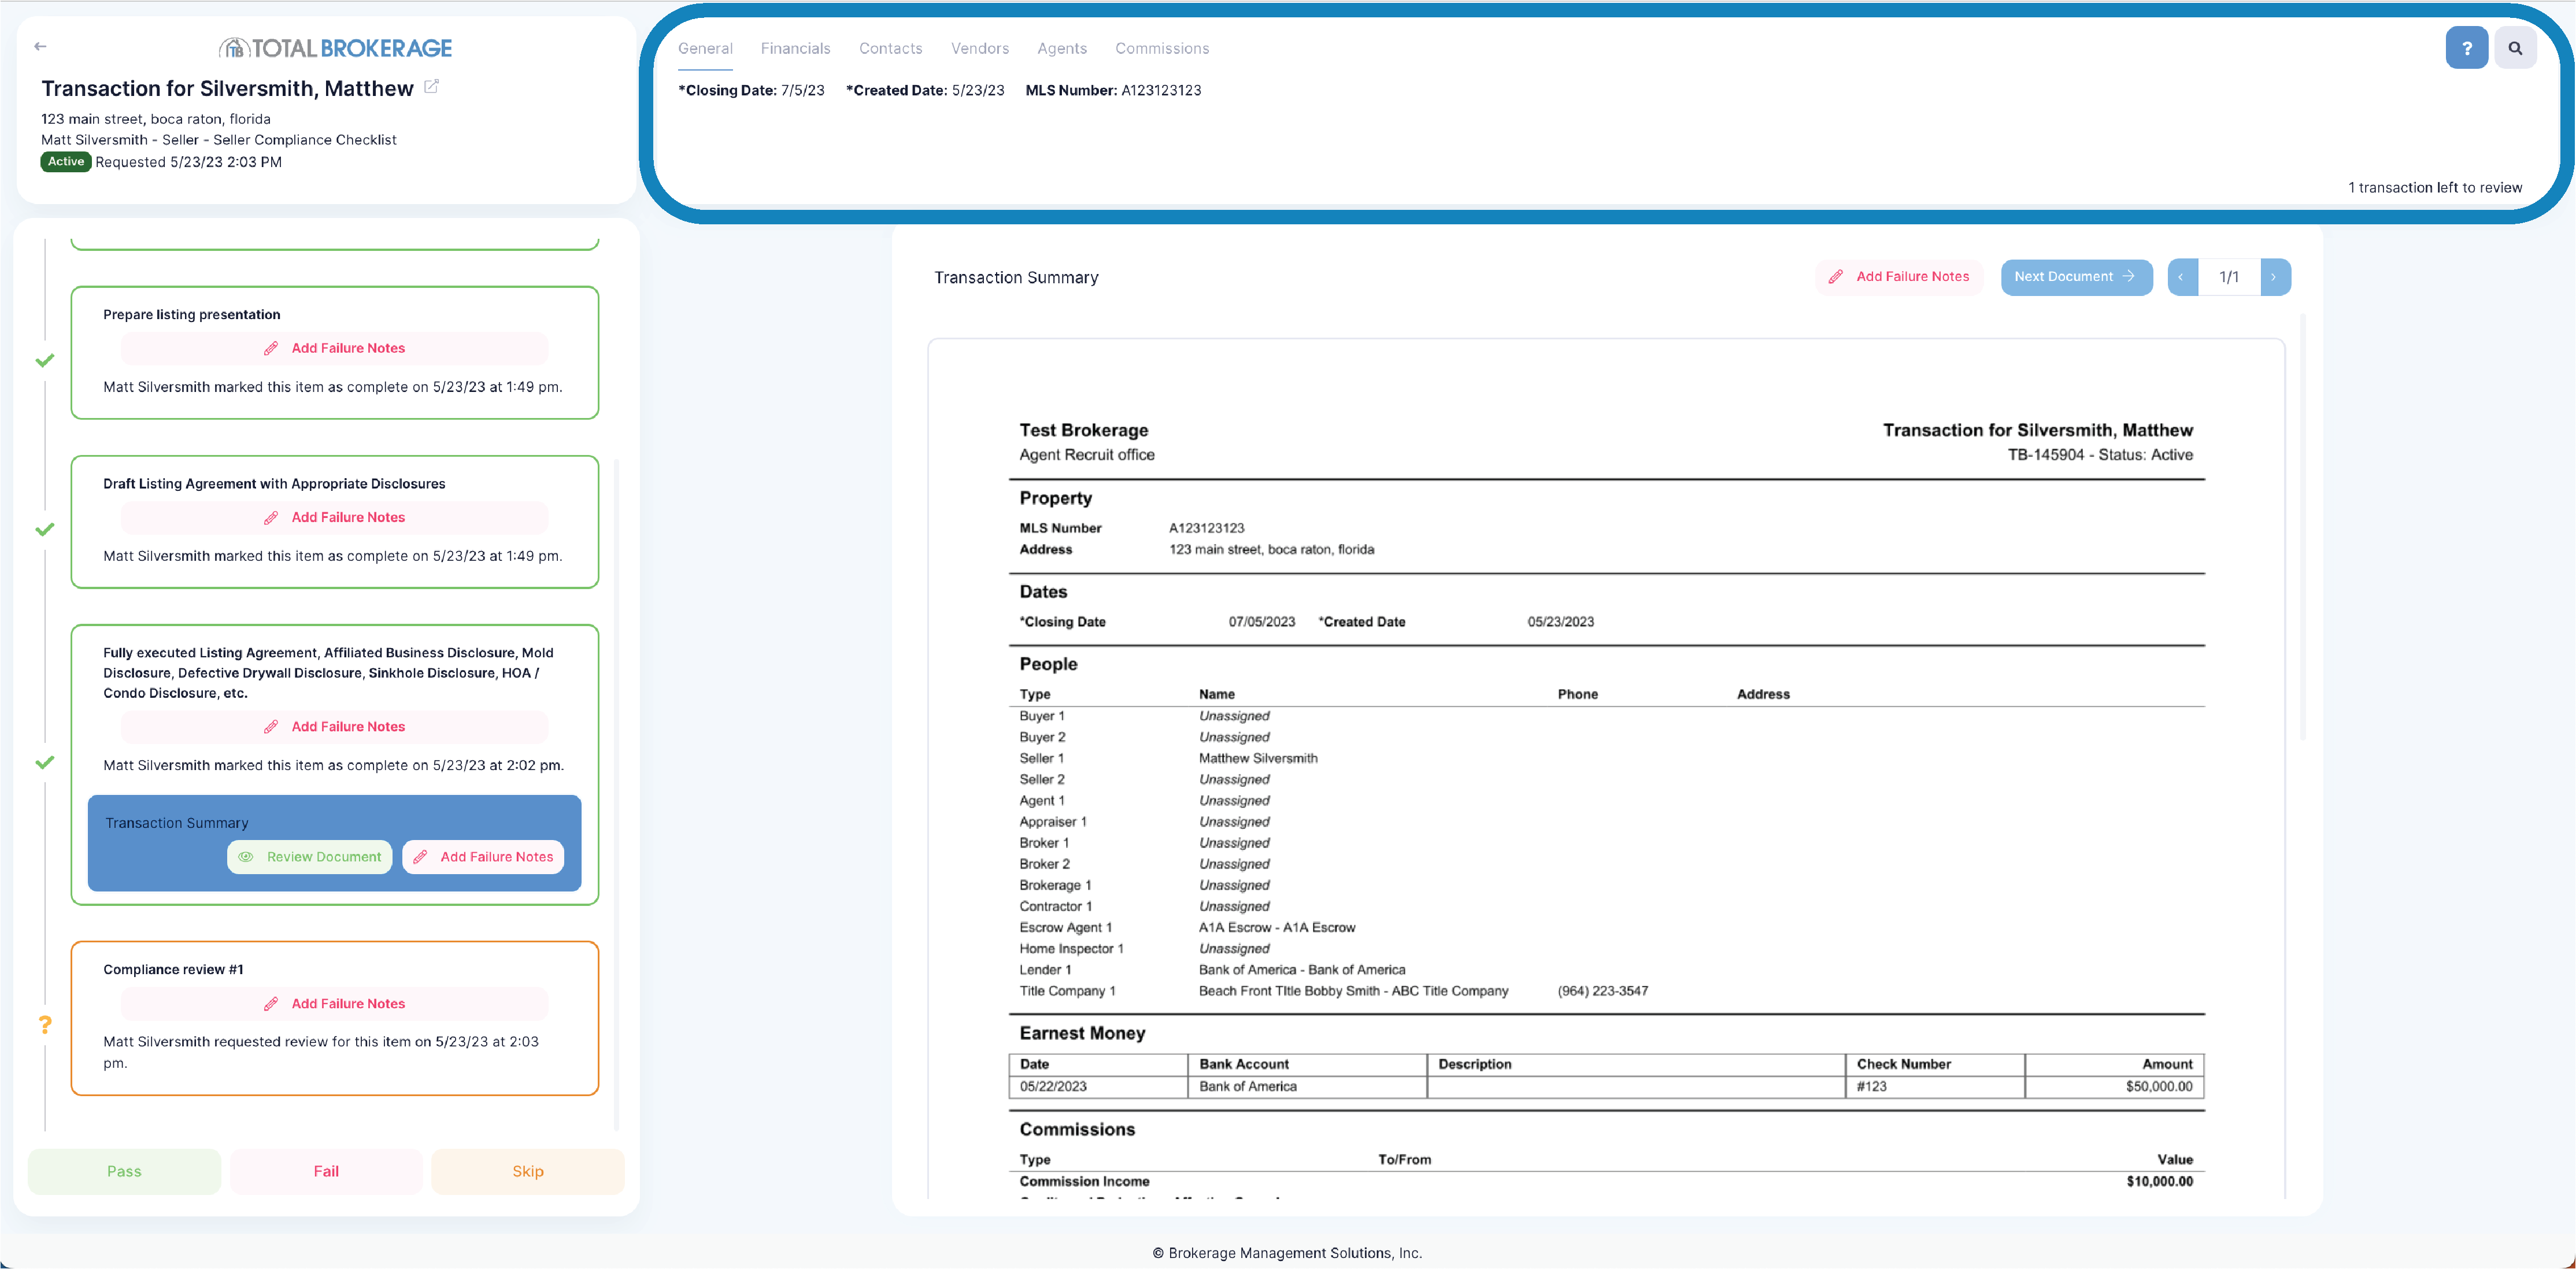
In this panel, you can view transaction details from various sections. Click the tabs to see the related information.

A help icon provides quick instructional notes to assist you throughout the process. If you need any guidance, simply click on the help icon to access these tips.
Notify Agents: Allows you to alert one or more agents on the transaction with a note. They will get an email with your note and it will be added to the Activity tab of the transaction.


Filter for Customized Viewing: Click the search icon to open a pop-up with filter options. Choose the options you'd like to view.


Select the Dates dropdown to choose a date or date range for a specified date on the transaction. Then click Save to apply your customized filter settings to the queue.

At the bottom of this section, you'll see "X transaction(s) left to review," showing the remaining transactions waiting for your review.

Bottom-Left Panel:

Here, you can see each completed task by the agent, along with the timestamp for when it was marked as complete.

You can add failure notes to any step within the checklist by selecting Add Failure Notes. A popup will appear, asking you to enter a reason for rejection. Choose from a list of previously used reasons or type a new one. If you want your new reason to be saved for future use, check the Save for future use box. Select Okay.

Your comment will now be visible on the task. If you need to edit or clear the failure notes, click Edit Failure Notes or Clear Failure Notes.

If a document was uploaded to the task, click Review Document to view it in the bottom-right panel.
Click Pass at the bottom of the panel to approve the checklist if all tasks meet your approval. If any items do not meet your approval, click Fail. After passing or failing a checklist, the next transaction in the queue will automatically load for your review.
Skip will skip this checklist request and move on to the next one in the queue.

Note: An alert will appear if you attempt to pass the review if any tasks have failure notes. If you select Yes on the alert, your failure notes will be removed, and the checklist will be passed.

Bottom-Right Panel:

This is where the document viewer is displayed. You can add failure notes to the associated task by clicking Add Failure Notes. To view the next document from the next task with a document, click Next Document.
You can navigate through the document using the page navigation arrows or by scrolling, as the entire document is loaded on the page.