The TotalBrokerage CRM (Customer Relationship Management) system is a tool that helps you manage your interactions with current and potential customers. It’s basically a centralized hub for organizing and tracking all customer-related information and communication.
NAVIGATE TO CRM > VIEW CONTACTS
Once you select a contact, you will see the following tabs.
Click the title to jump to the details:
GENERAL
On this page, you can enter all of a contact’s basic details, including name, company, and communication preferences.
Customizable Fields
The following fields are customizable and can be configured under Setup → User Fields in the sidebar:
Lead Type
Lead Status
Lead Source
Language
Tags
For more information on how to customize these fields, click here.
Email Addresses and Phone Numbers
You can add multiple email addresses and phone numbers for each contact.
To add an additional email or phone number:
Click the blue down arrow next to the Email or Phone field.
Select + Add new phone/email from the dropdown menu.
Automatic Saving
All changes made on this tab are saved automatically.
Area Code Time Display
When you enter a phone number, the local time based on the area code will be displayed.
You can add all of the contact's basic information on this page. Please note that Lead Type, Lead Status, Lead Source, Language, and Tags are customizable user fields are configured under the Setup → User field section in the sidebar. For more information on customizing those fields, see this.
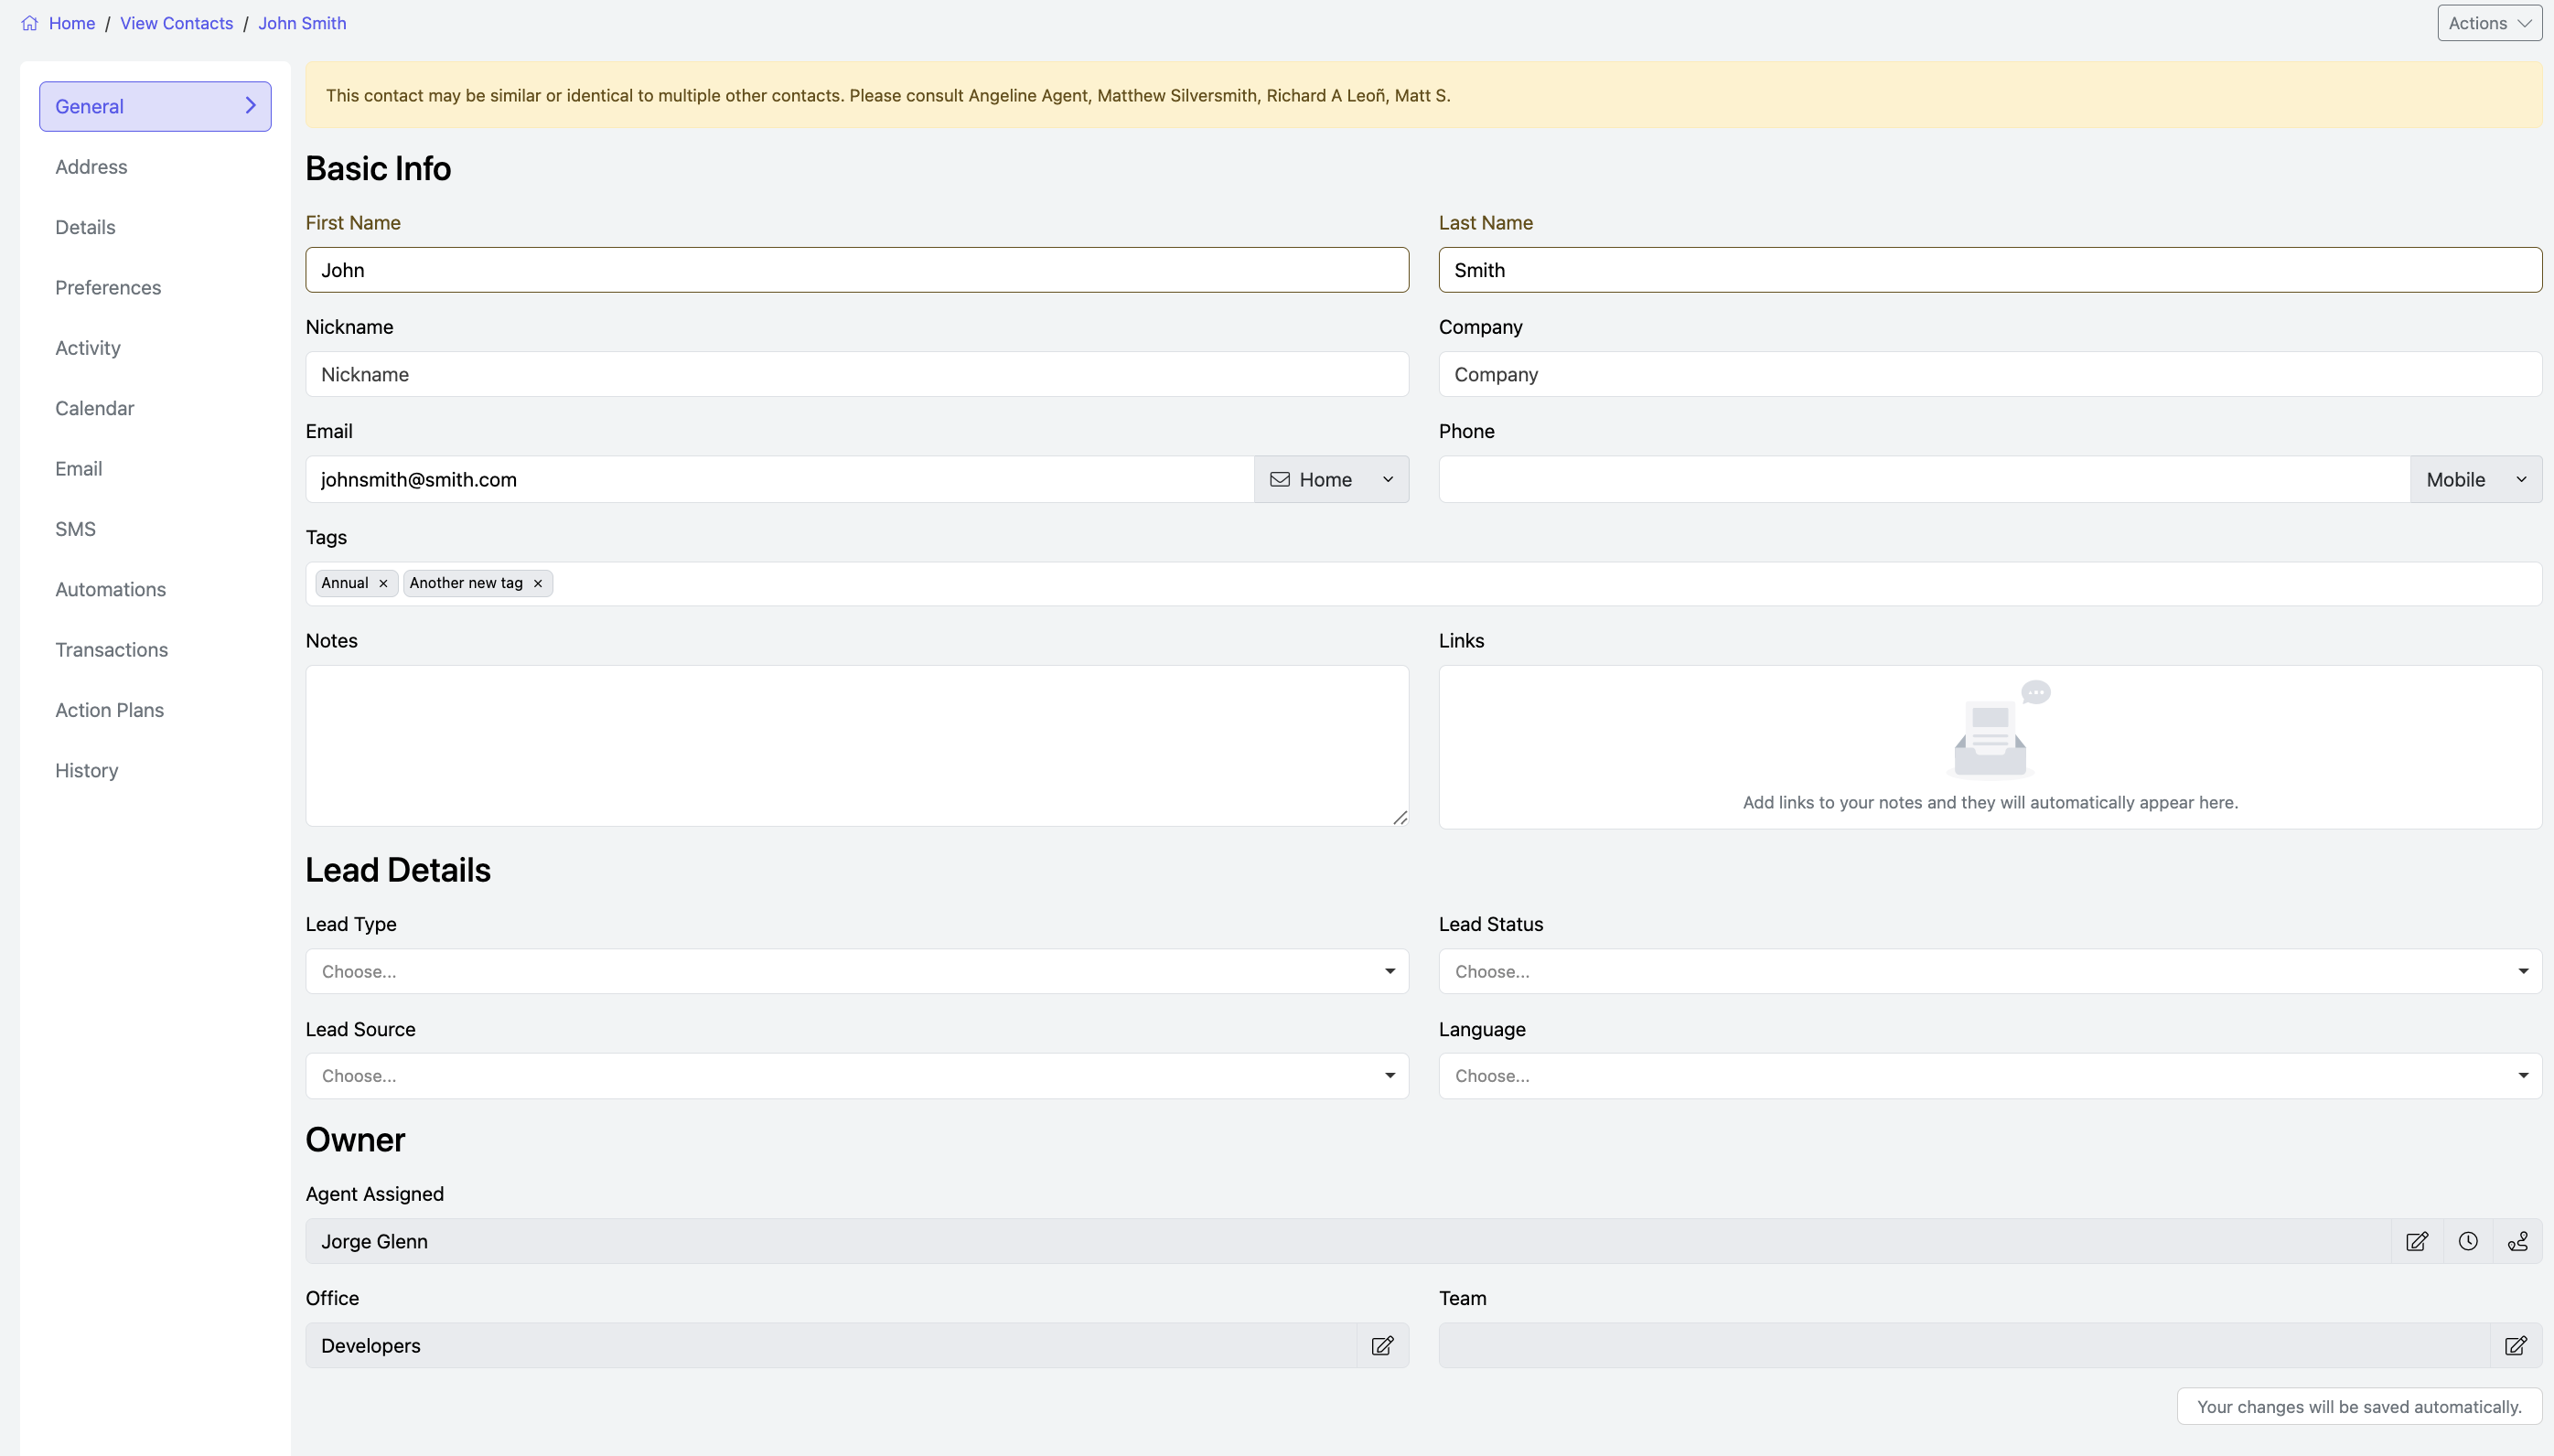
You can also add as many Email addresses and Phone numbers as you want.
Click the down arrow next to the Email or Phone field and select + Add new phone/email.
All changes are automatically saved in this tab.
The current time for the area code will be displayed if you enter a phone number.

Move to & Remove from Trash
Click the Actions dropdown.

Once the contact has been moved to the trash, the selection will say “Remove from Trash.”
Click HERE for Instructions To Reassign a Contact
ADDRESS
In this tab, you can add the addresses of your contact.
Start typing the address, and a dropdown list of matching results will appear.
Select the appropriate address from the list, and the full address will automatically populate the corresponding fields.

You can label them and add as many addresses as you want.
All changes to this tab will be automatically saved.

To re-label the address type, click on “Home (arrow)” and then select the address type you want for that address.
To add a new address, click on the +Add New Address” button at the bottom. A new address field will appear.
DETAILS
The details tab is where you can enter additional information about your contact, such as their anniversary or spouse’s name. These fields will automatically save.

Note: All names of the details fields are customizable at the Brokerage level only.
They can be edited by going to Setup -> User Fields > Brokerage > Contact Details.
For User Field Suggestions, Click Here.
PREFERENCES
Here you can enter property preferences for your contact, such as price, number of bedrooms, number of bathrooms, etc.
You can also add notes here.
These fields will automatically save.
Please note that the "Type" drop-down menu is a field only customizable at the Brokerage level. This can be edited by going to Setup > User Fields > Brokerage > Property Type.

ACTIVITY
Here you can search and add activities that occur between you and your contact (such as called, hung a lockbox, met for lunch, etc.).
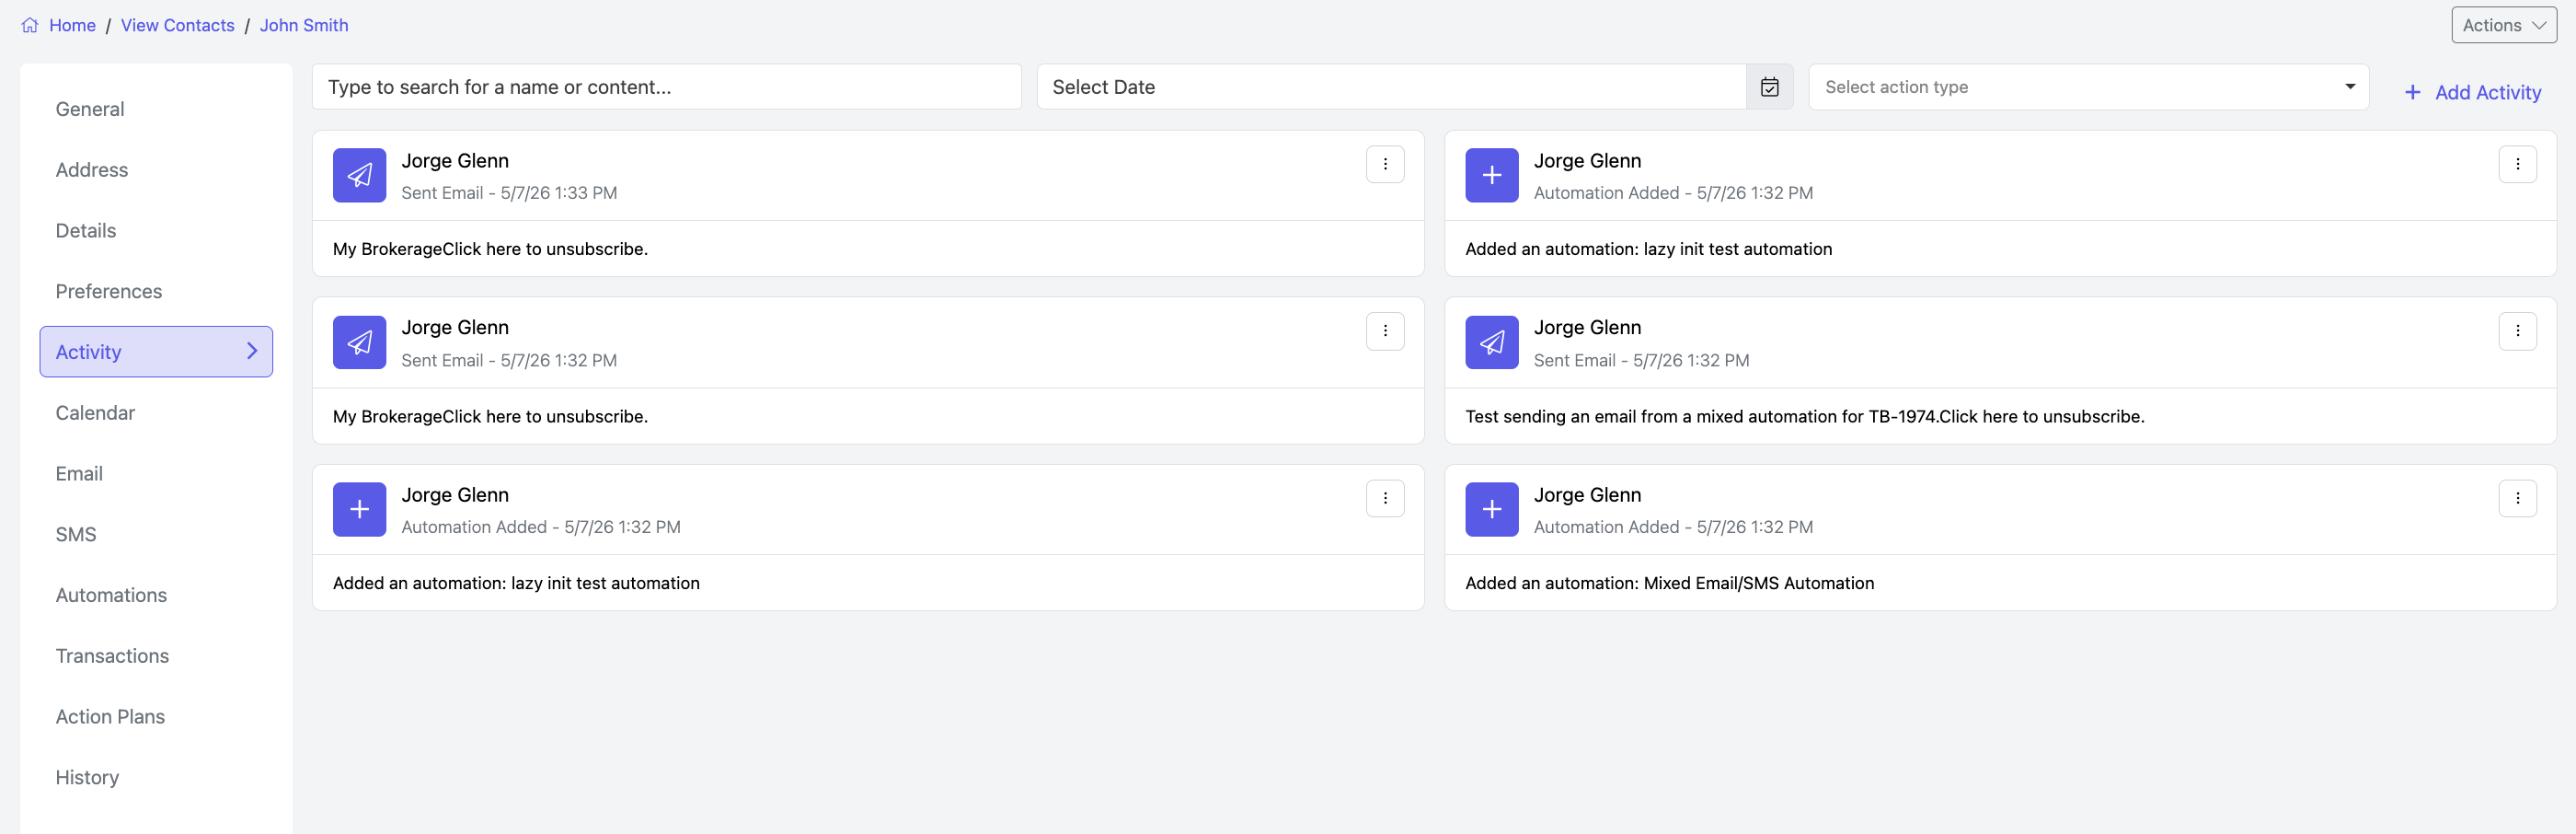
Click +Add Activity to create a new one.
You can categorize your activity as a note, phone, or any other user fields your brokerage may have added.
To change the activity category, click on the dropdown menu.
Note: only brokerage managers are able to add more activity options.

When creating the activity you can choose to notify the owner or managers of the contact.
If you do not wish to send out notifications click toggle button next to Notify Agents.
Remember to hit “Add” when finished.
CALENDAR
Here you can view events that you have scheduled with that contact or any tasks associated with this contact.

You can edit/view details for an event by clicking on the event on the calendar or add an event using the + Add Event button.
Be sure to click Save when finished.
On the right side, you can view the current tasks for this contact or add a new one.
When adding a new one it will automatically select the current contact, just fill out the description and time for the task.
Check out our dashboard helpdesk for more information on how to use the to-do widget.

The email tab keeps a log of all your emails between you and this contact.

Compose
Select Compose to create an email inside TotalBrokerage.
An email template will open, and you can write your message there.
You may select your 'from' email address by using the dropdown.
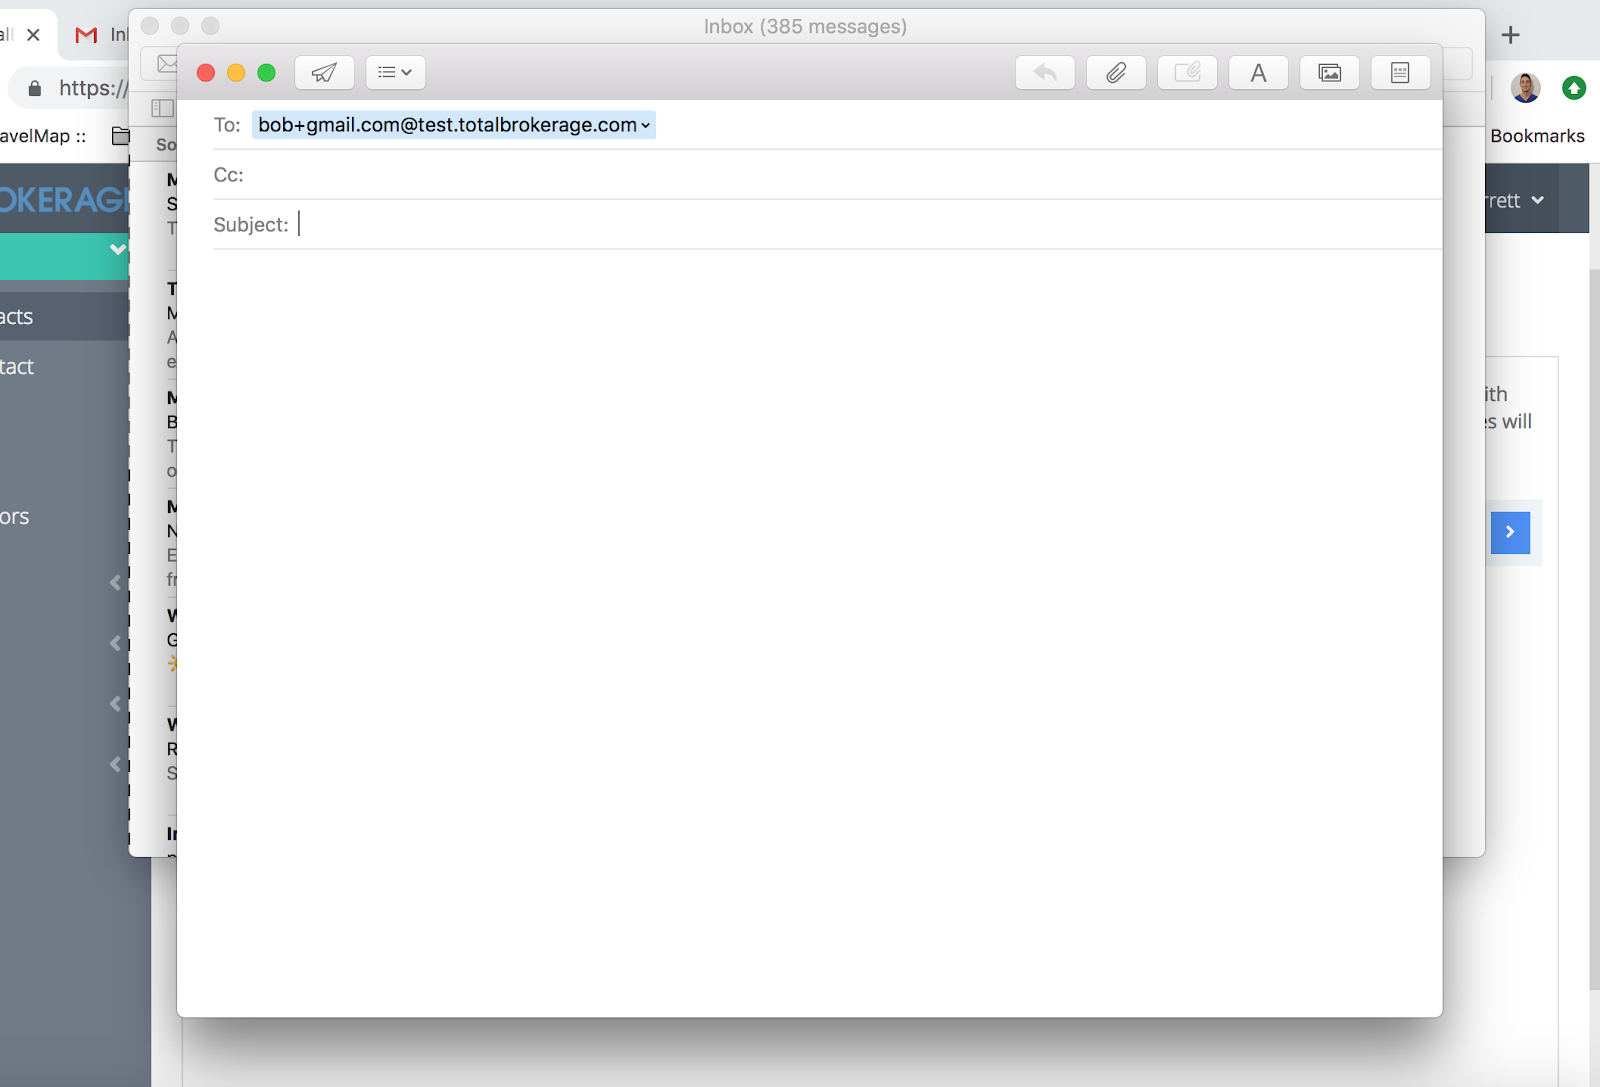
Click Mail Client to send using your personal or business email server.
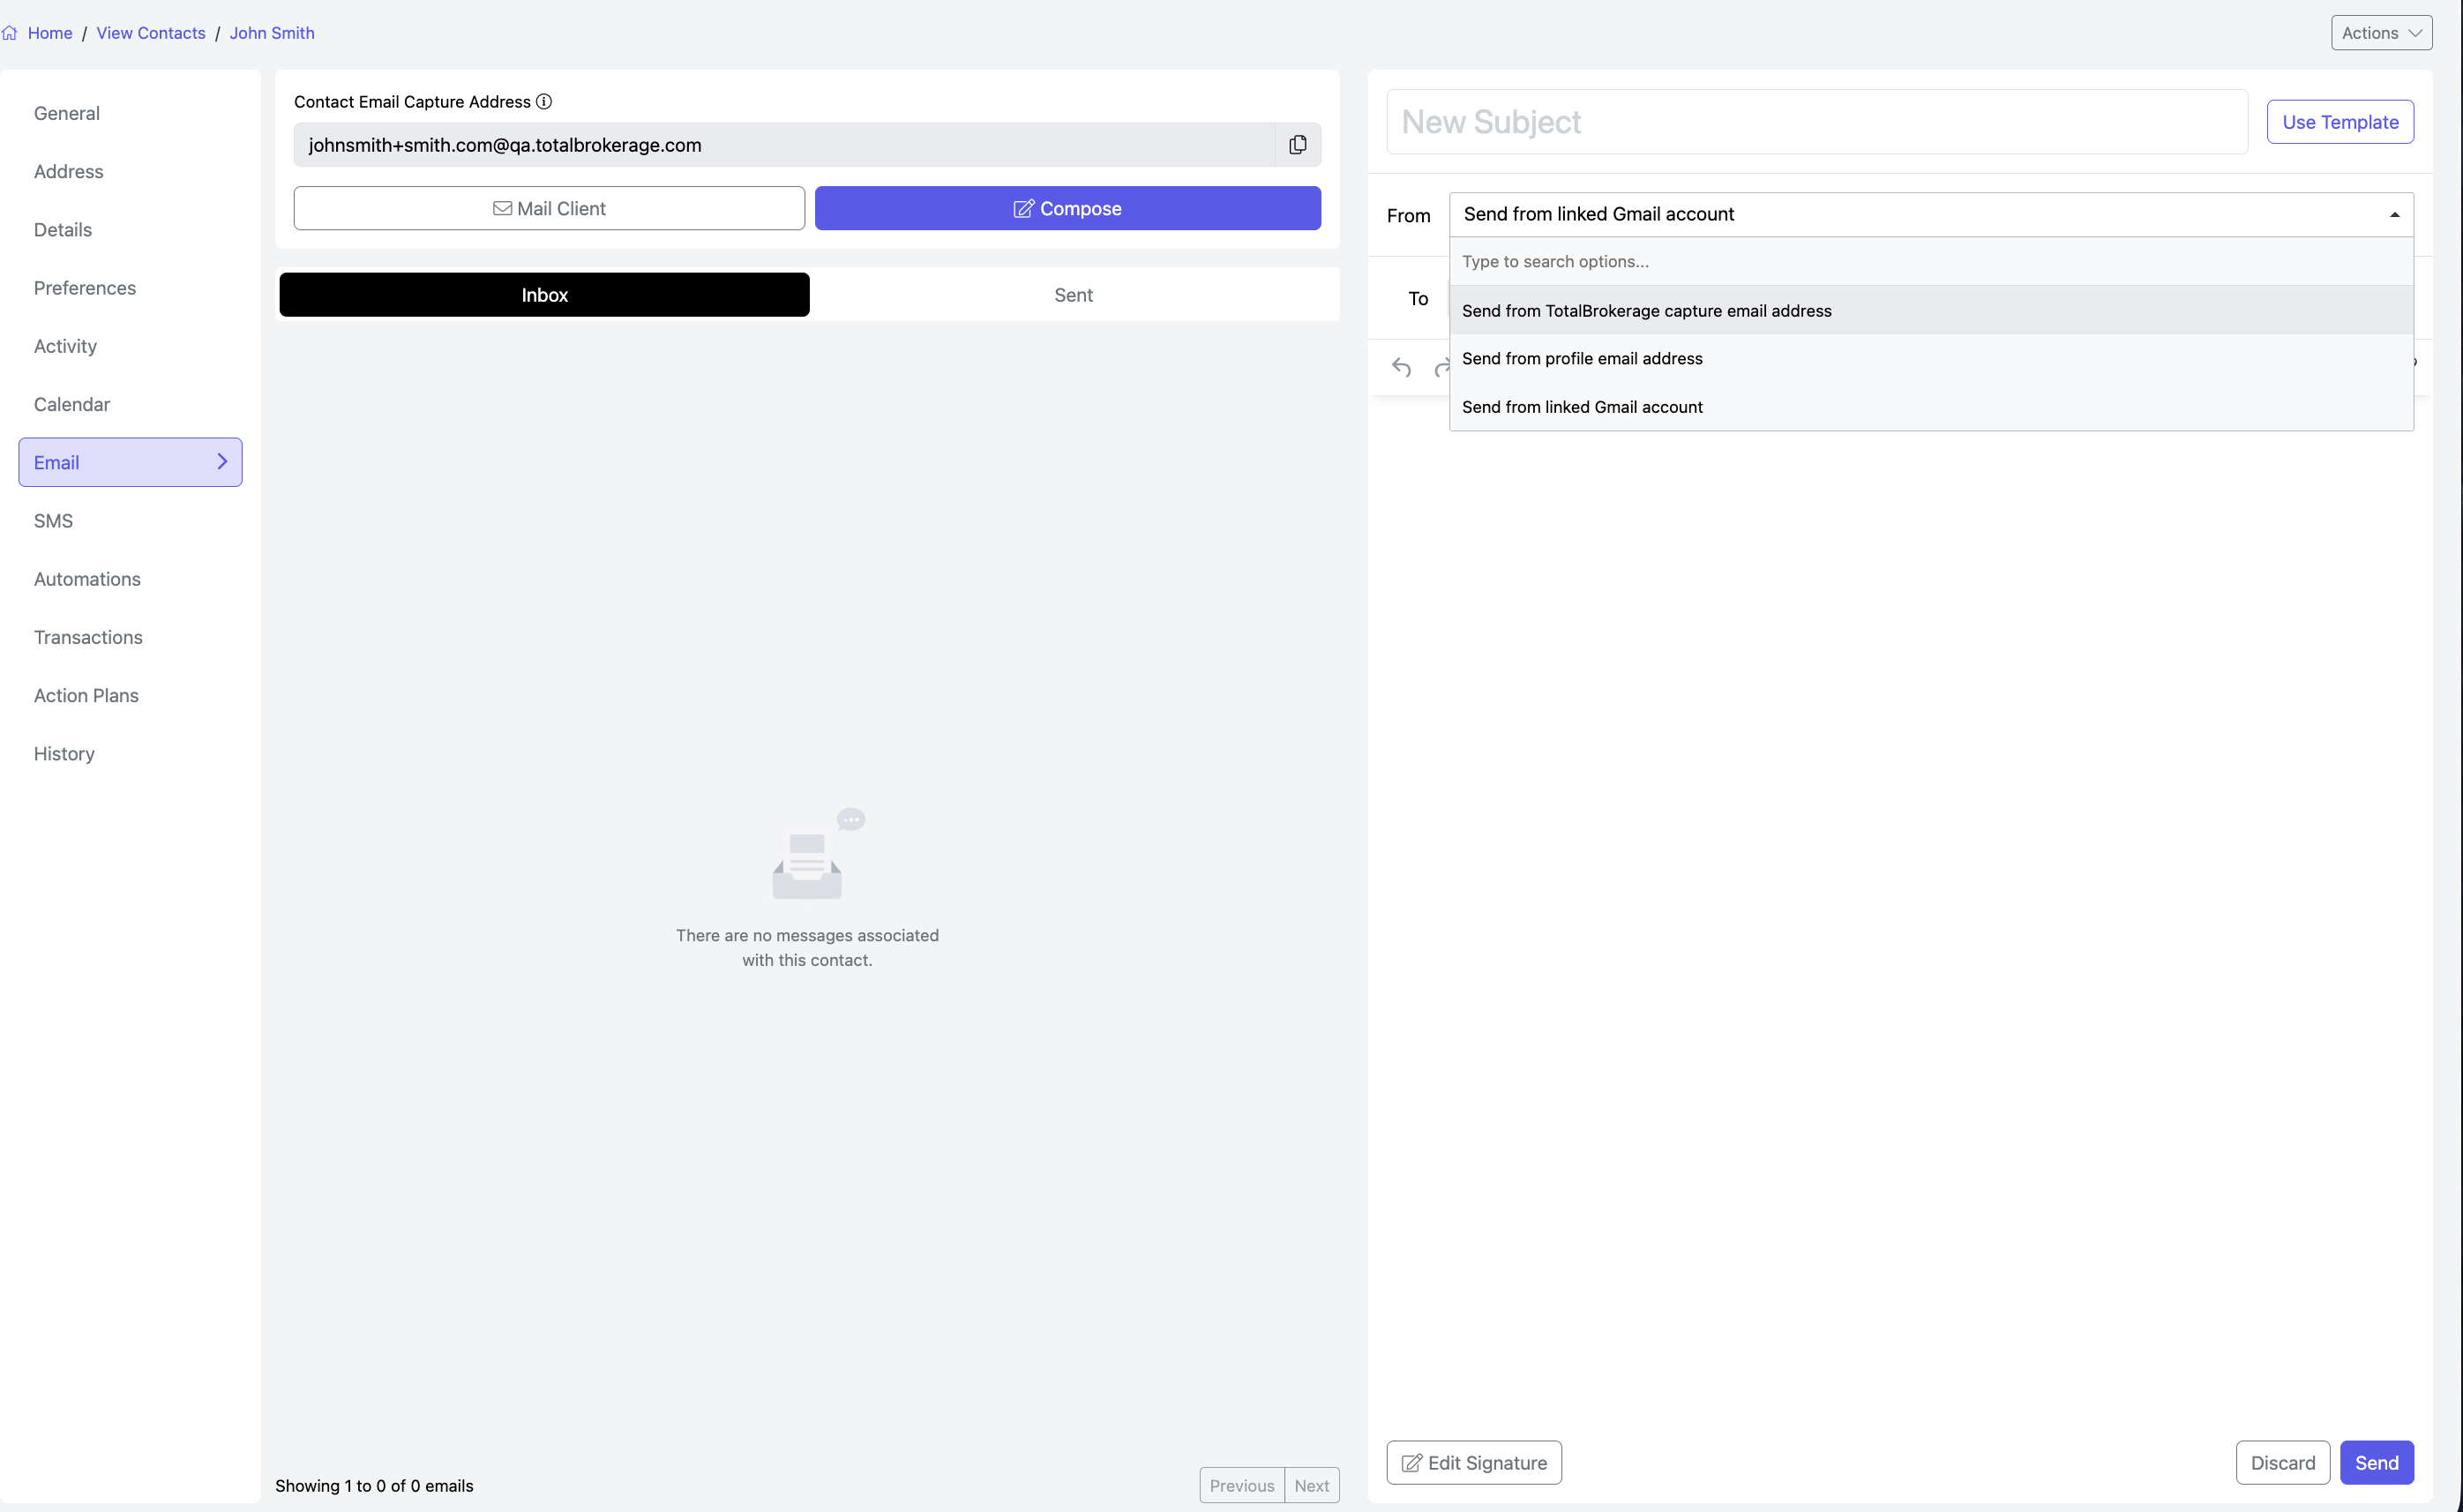

If a contact has multiple email addresses, you can select which email to send the message to by selecting the Email dropdown.
You may also send the customer a Marketing Template by clicking the Template button.
If your brokerage has enabled Track Email Click Metrics (an administrator can enable this setting via Setup → Brokerage), you can check the email status within the Sent section.
The symbol to the left of the contact name will indicate the status.


SMS
Within the SMS tab of a Contact, you can send and receive messages with a contact's mobile number.
Make sure that one of the phone numbers on the General tab is marked as Mobile.
You can select from the SMS numbers you have activated in TotalBrokerage as the From number. The To numbers will be any of the Contact's mobile numbers which are recognized as valid.
While composing a message, you will see a character counter to indicate the length of the message and how many messages will count against your license.
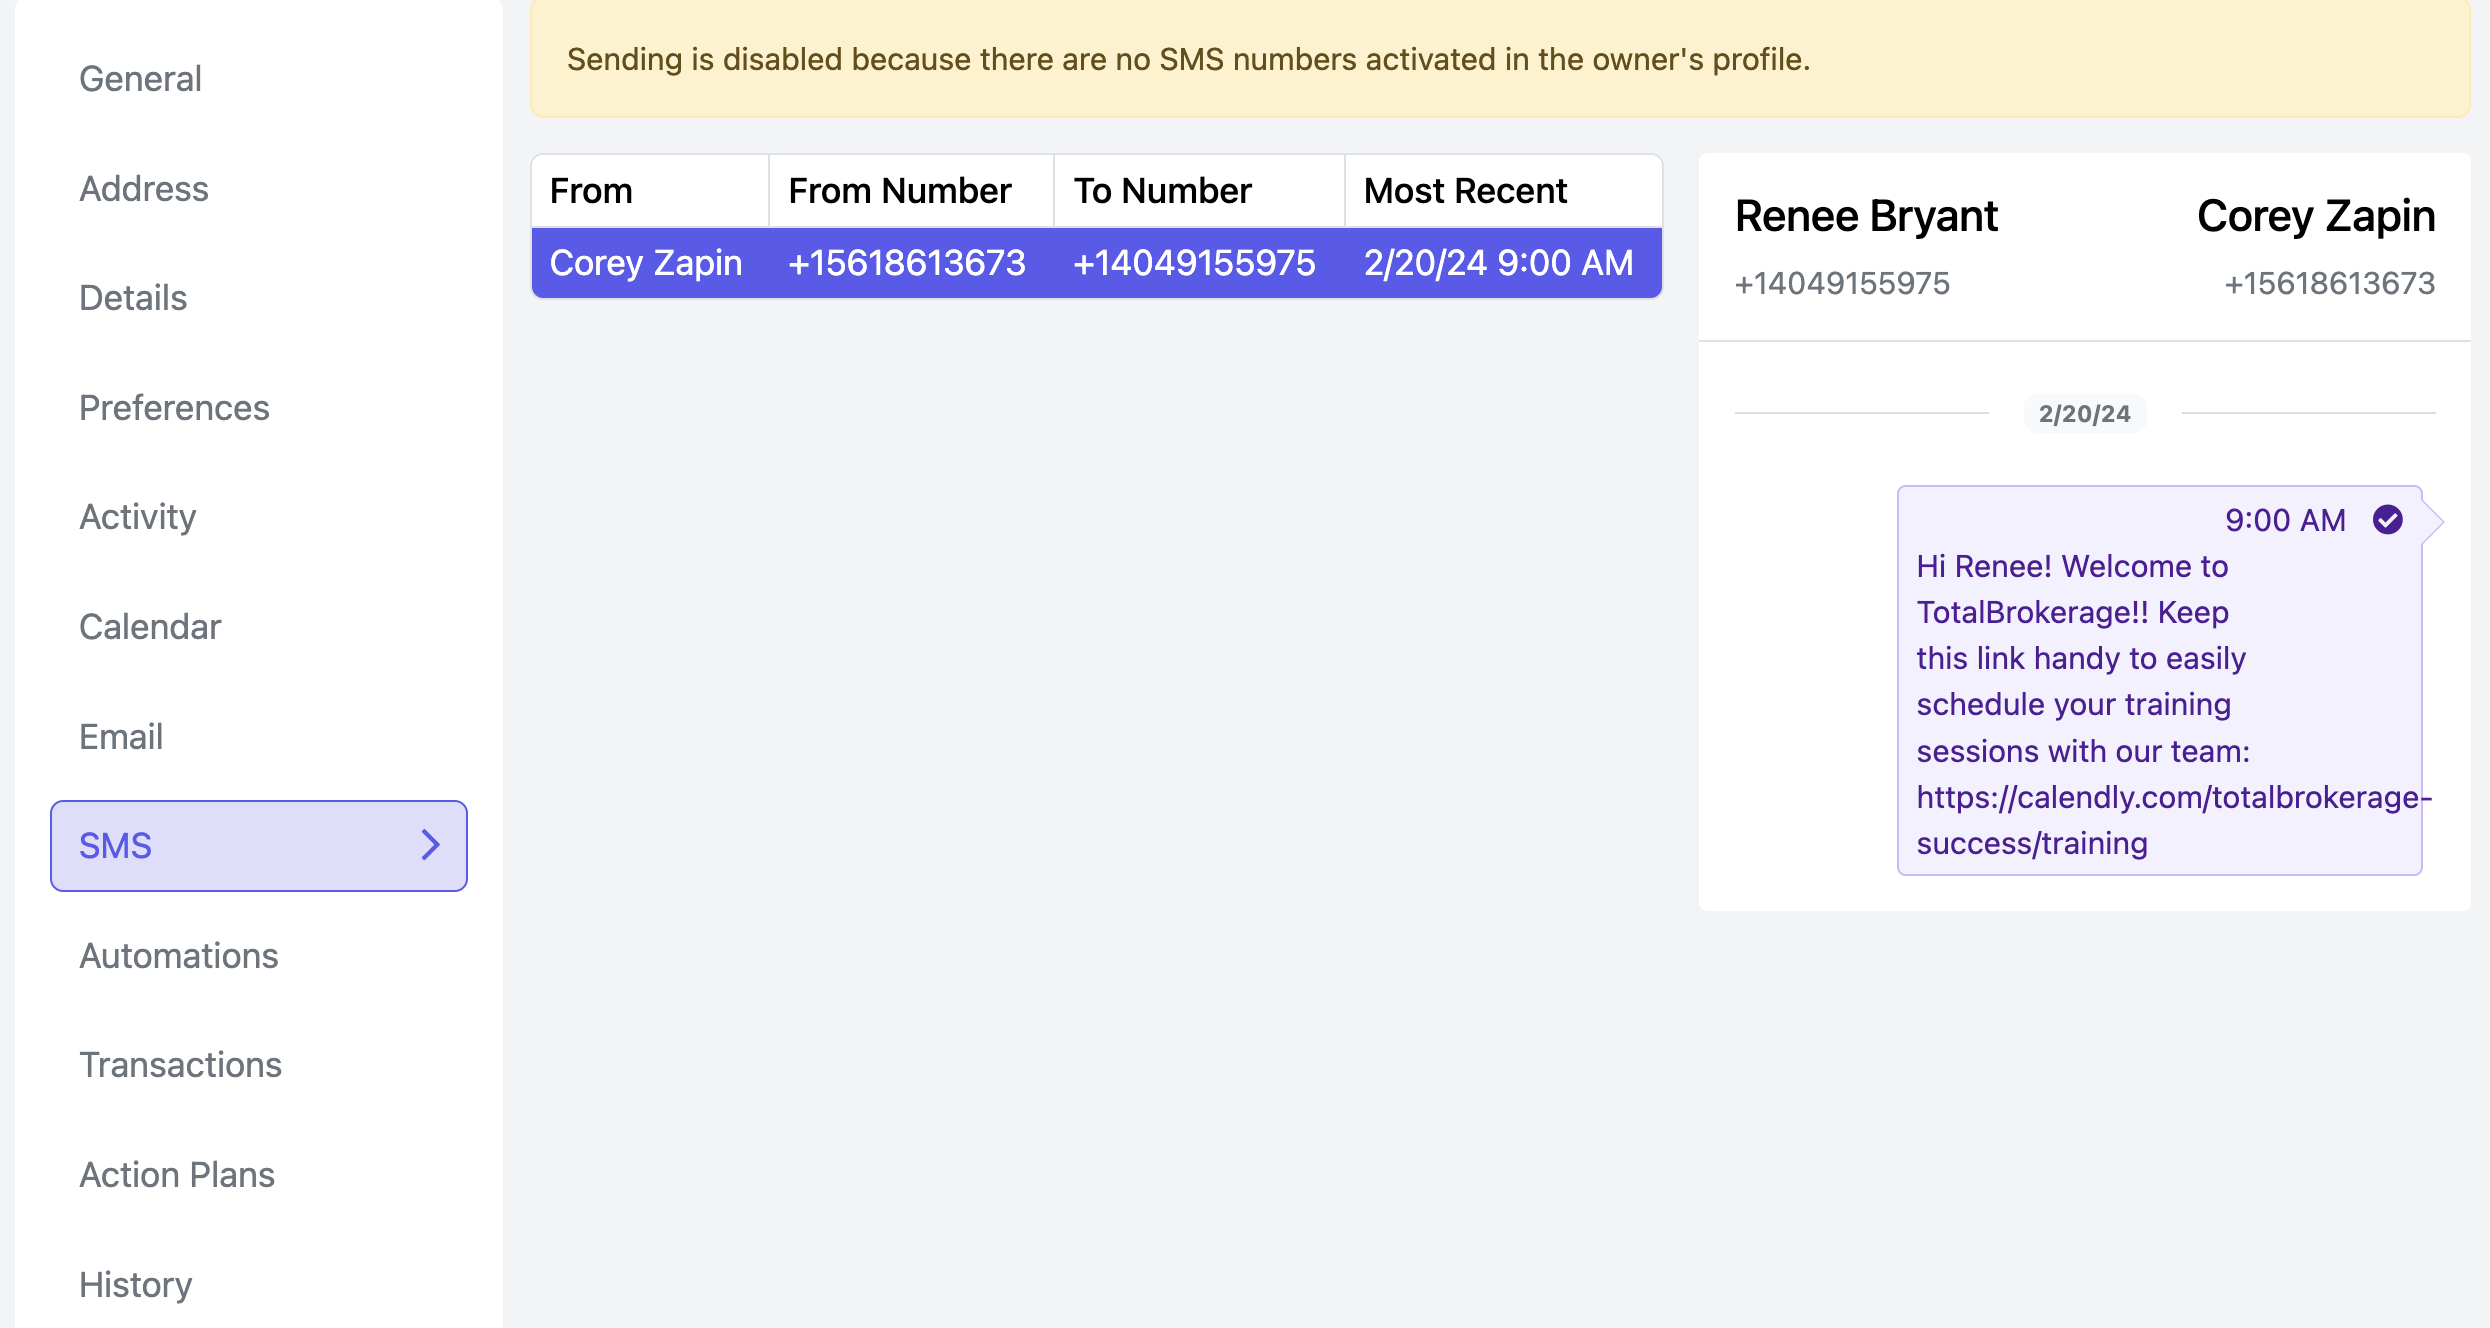
There are several icons to denote the status of sent messages.
 | A black clock - the message has been queued to be sent. |
 | A checkmark in a green circle - the message has been successfully delivered |
 | A gray checkmark - the message was successfully sent but delivery cannot be confirmed |
 | A red exclamation mark - the message failed to send |
If a contact calls your SMS number, it will forward over to your mobile phone number specified in your profile.
It will also create an activity for this call with the duration of the call.
When you enable email notifications for incoming SMS messages, you can conveniently check and respond to these messages directly through your email. Here's how you can activate this feature:
1) Click on your name in the top right corner of the screen, and then select My Profile.

2) Navigate to the Notifications tab. Turn on Email notifications for When I receive an SMS message and Save.

With this setting on, any SMS you receive from a contact will generate an email notification, as shown below:

To reply to the SMS, you can open the contact's SMS tab, or you can respond directly to the email. Your response will be reflected in the contact's SMS tab.
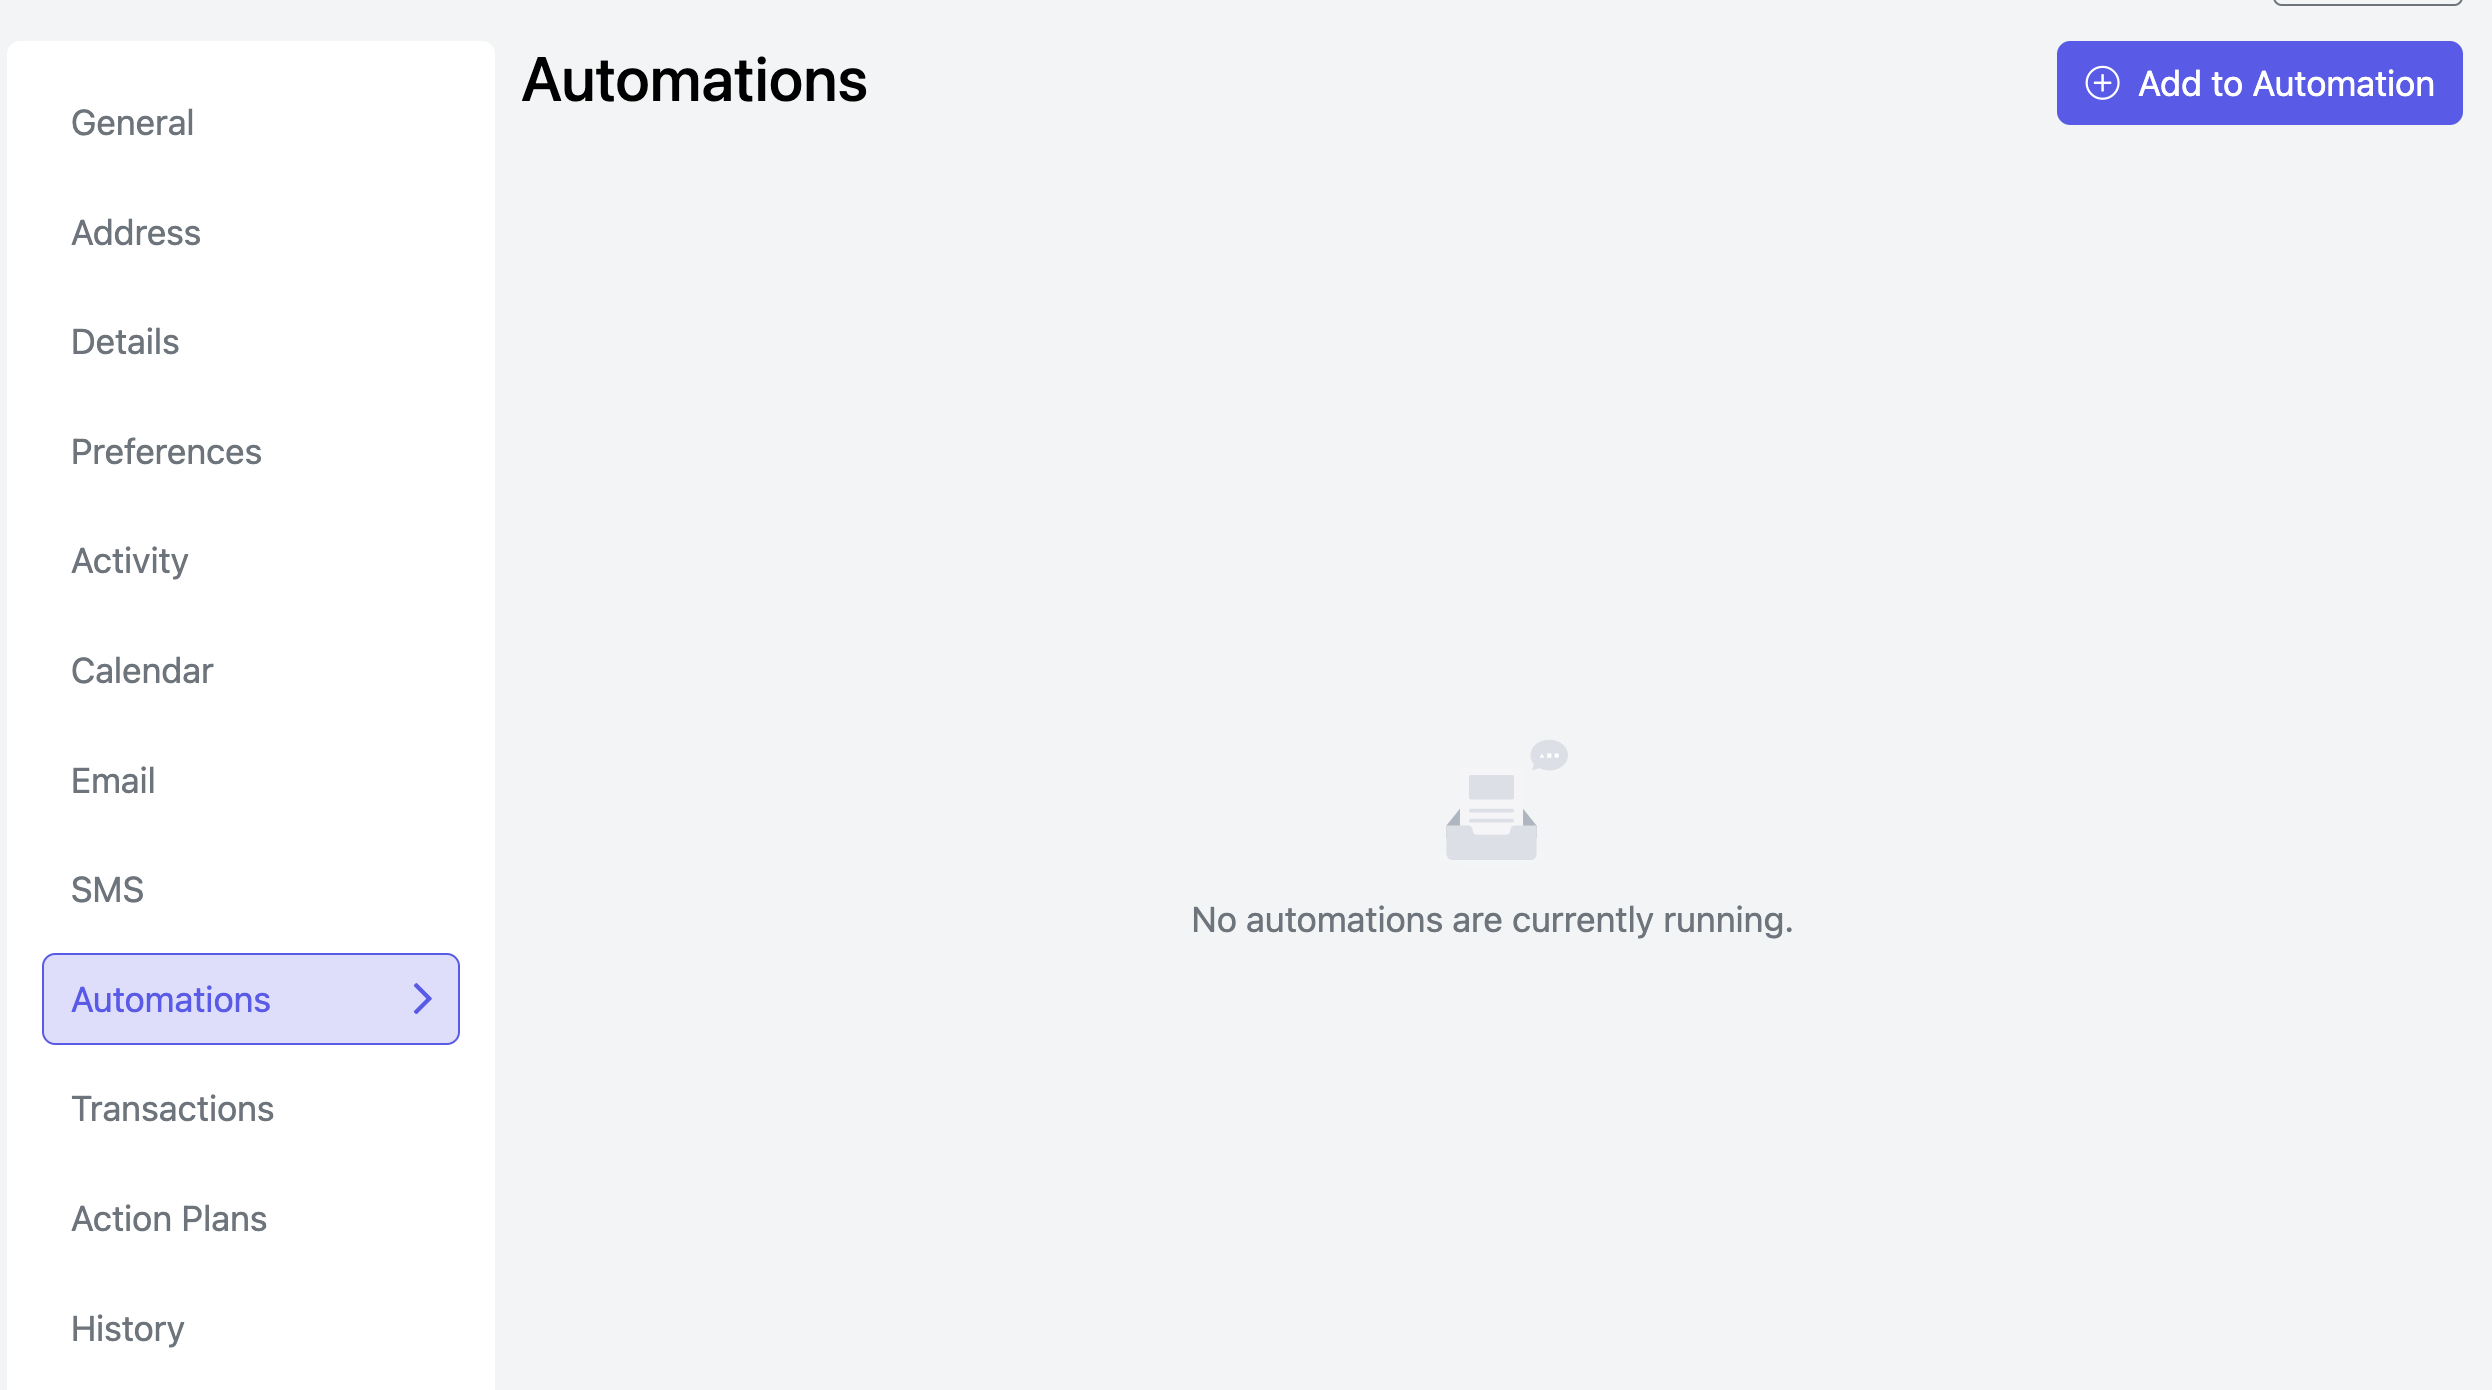
AUTOMATIONS
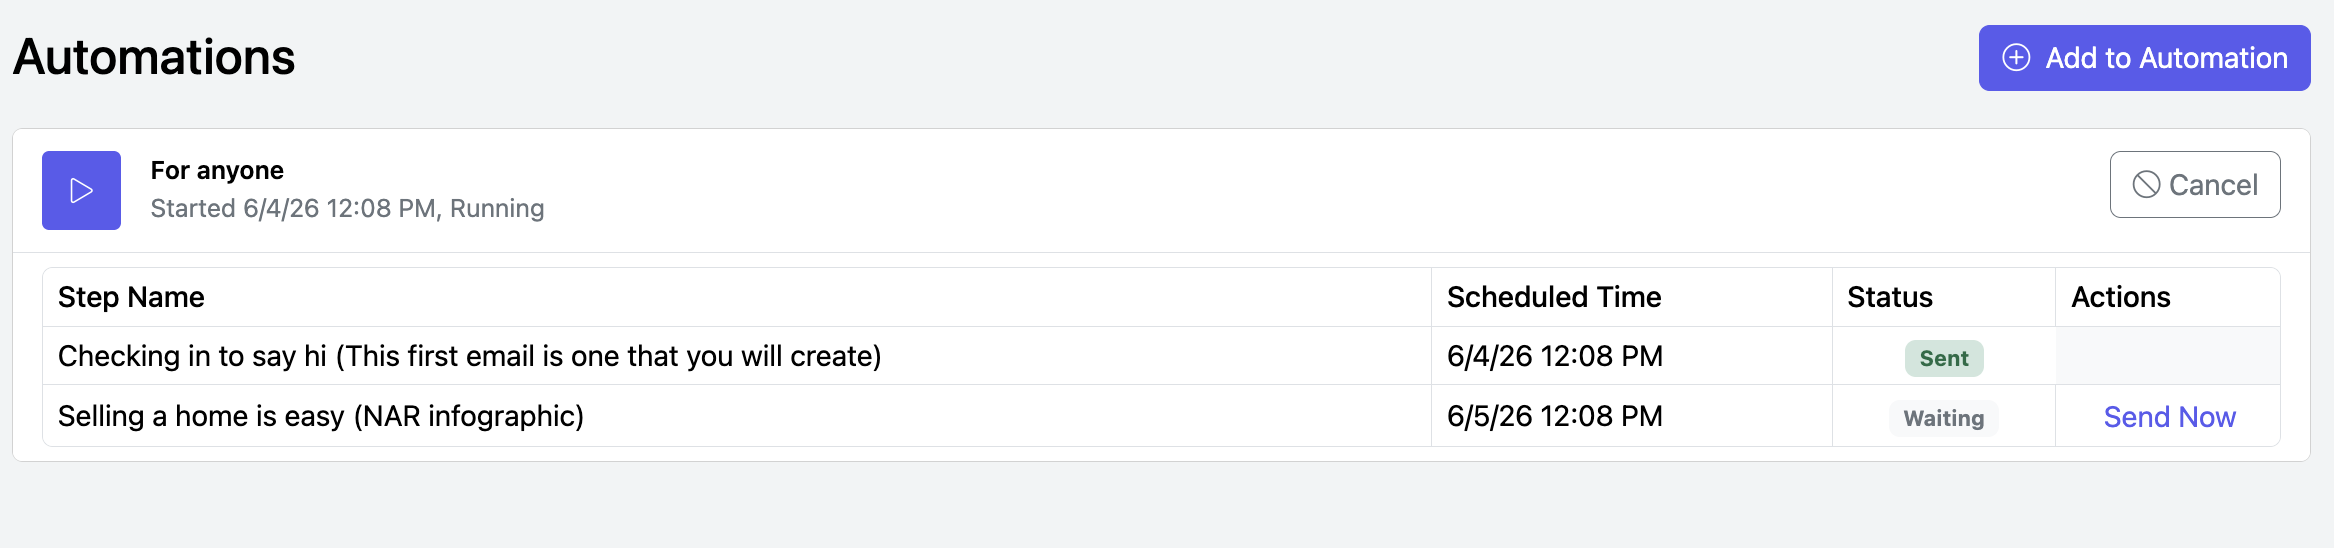
Here, you can view what automations (or drip campaigns) this contact has been added to.
To add the contact to an automation, click “Add to Automation”.
Use the dropdown menu or type to search for the Automation.
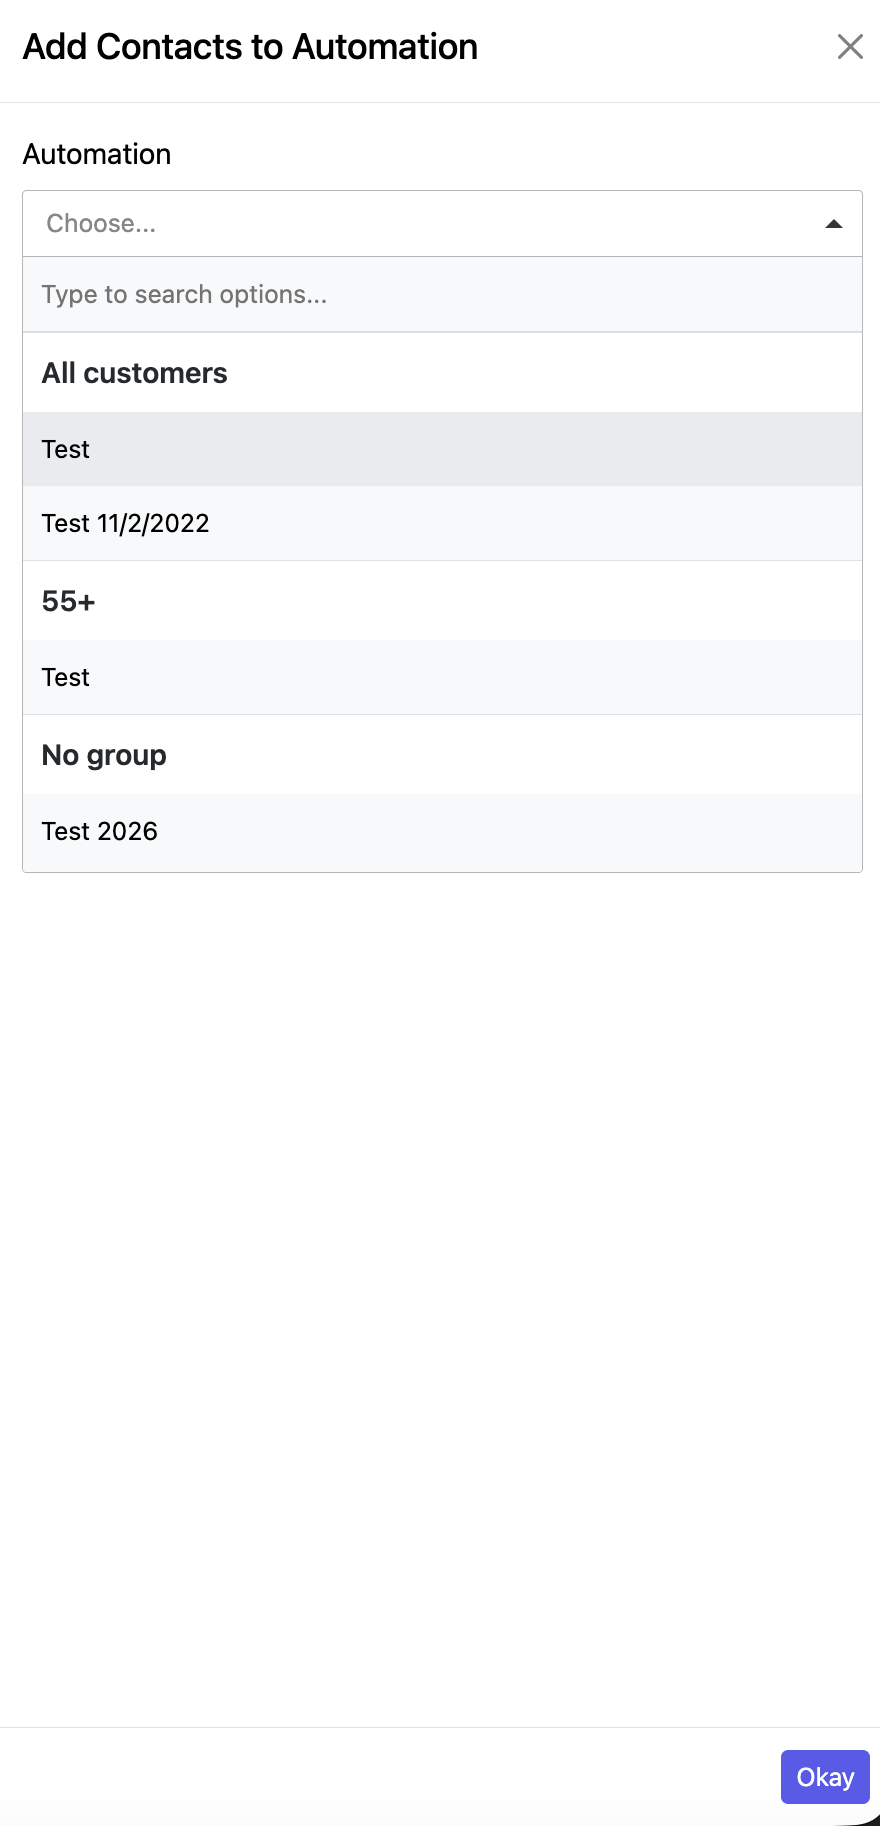
Once you select the Automation, you must choose the Start Date. 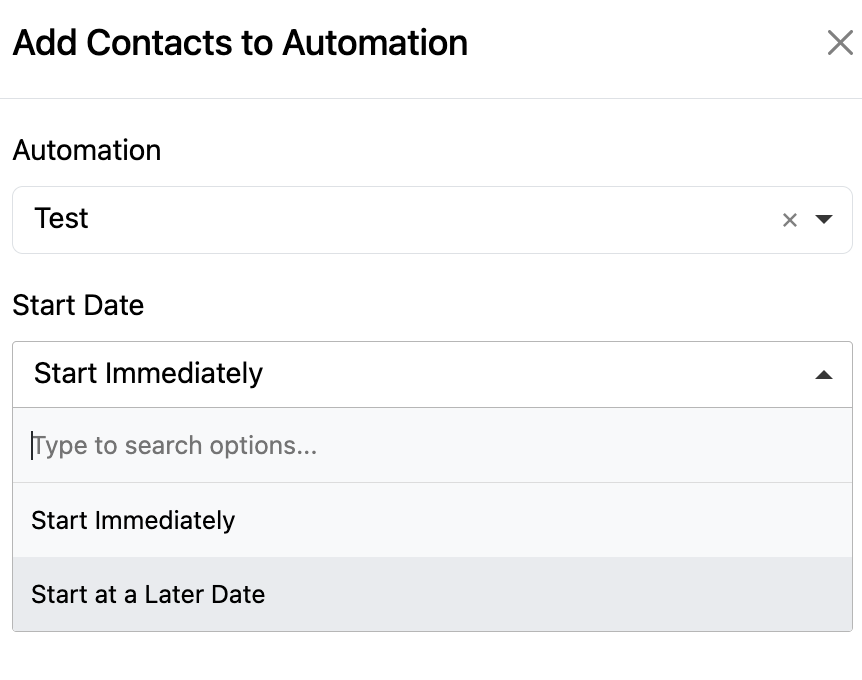
If selecting to Start at a Later Date, the calendar will pop up allowing you to make your selection.
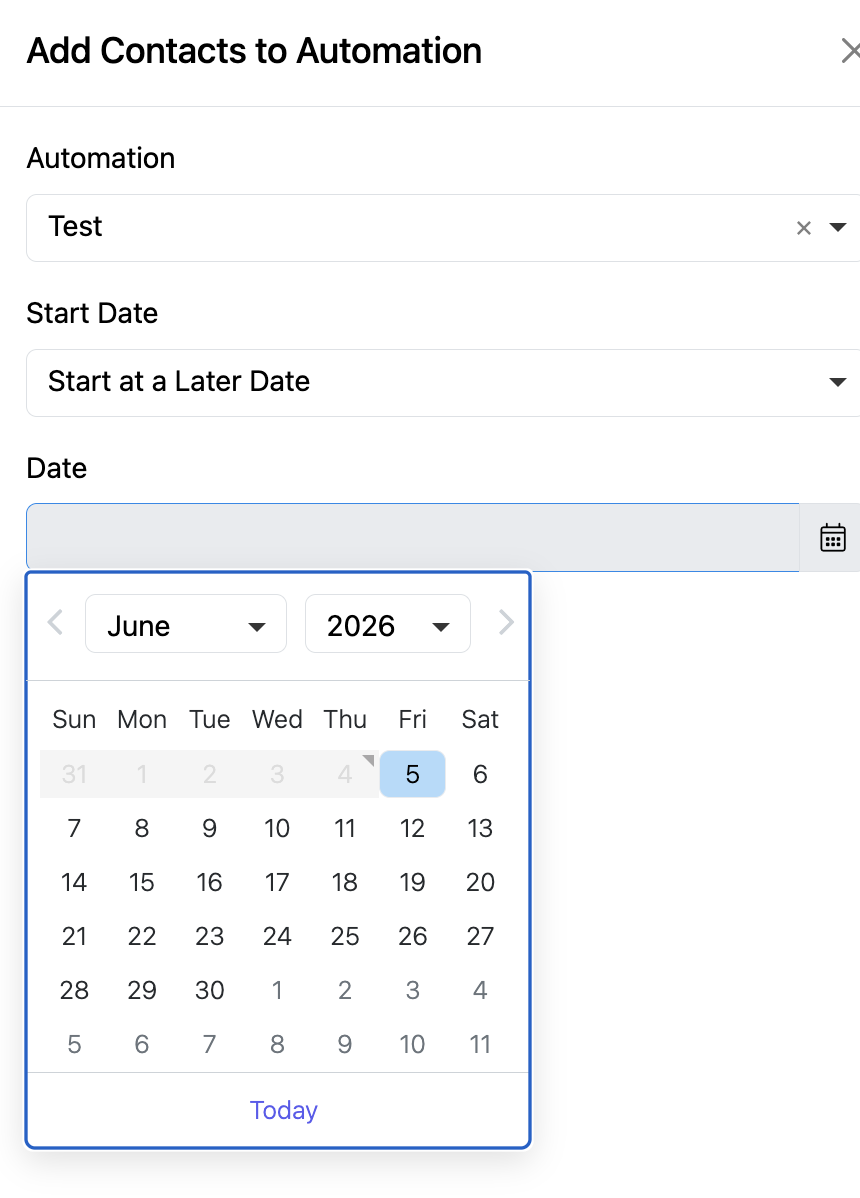

Once you’re done, click the blue Okay button.
Click the Cancel button if you no longer want the contact to receive the automation emails.
TRANSACTIONS
Here you can view or edit the transactions that you have started with this contact. Click View to open the Transaction.
To create a new transaction for the contact, click "Create Transaction” and follow the steps.
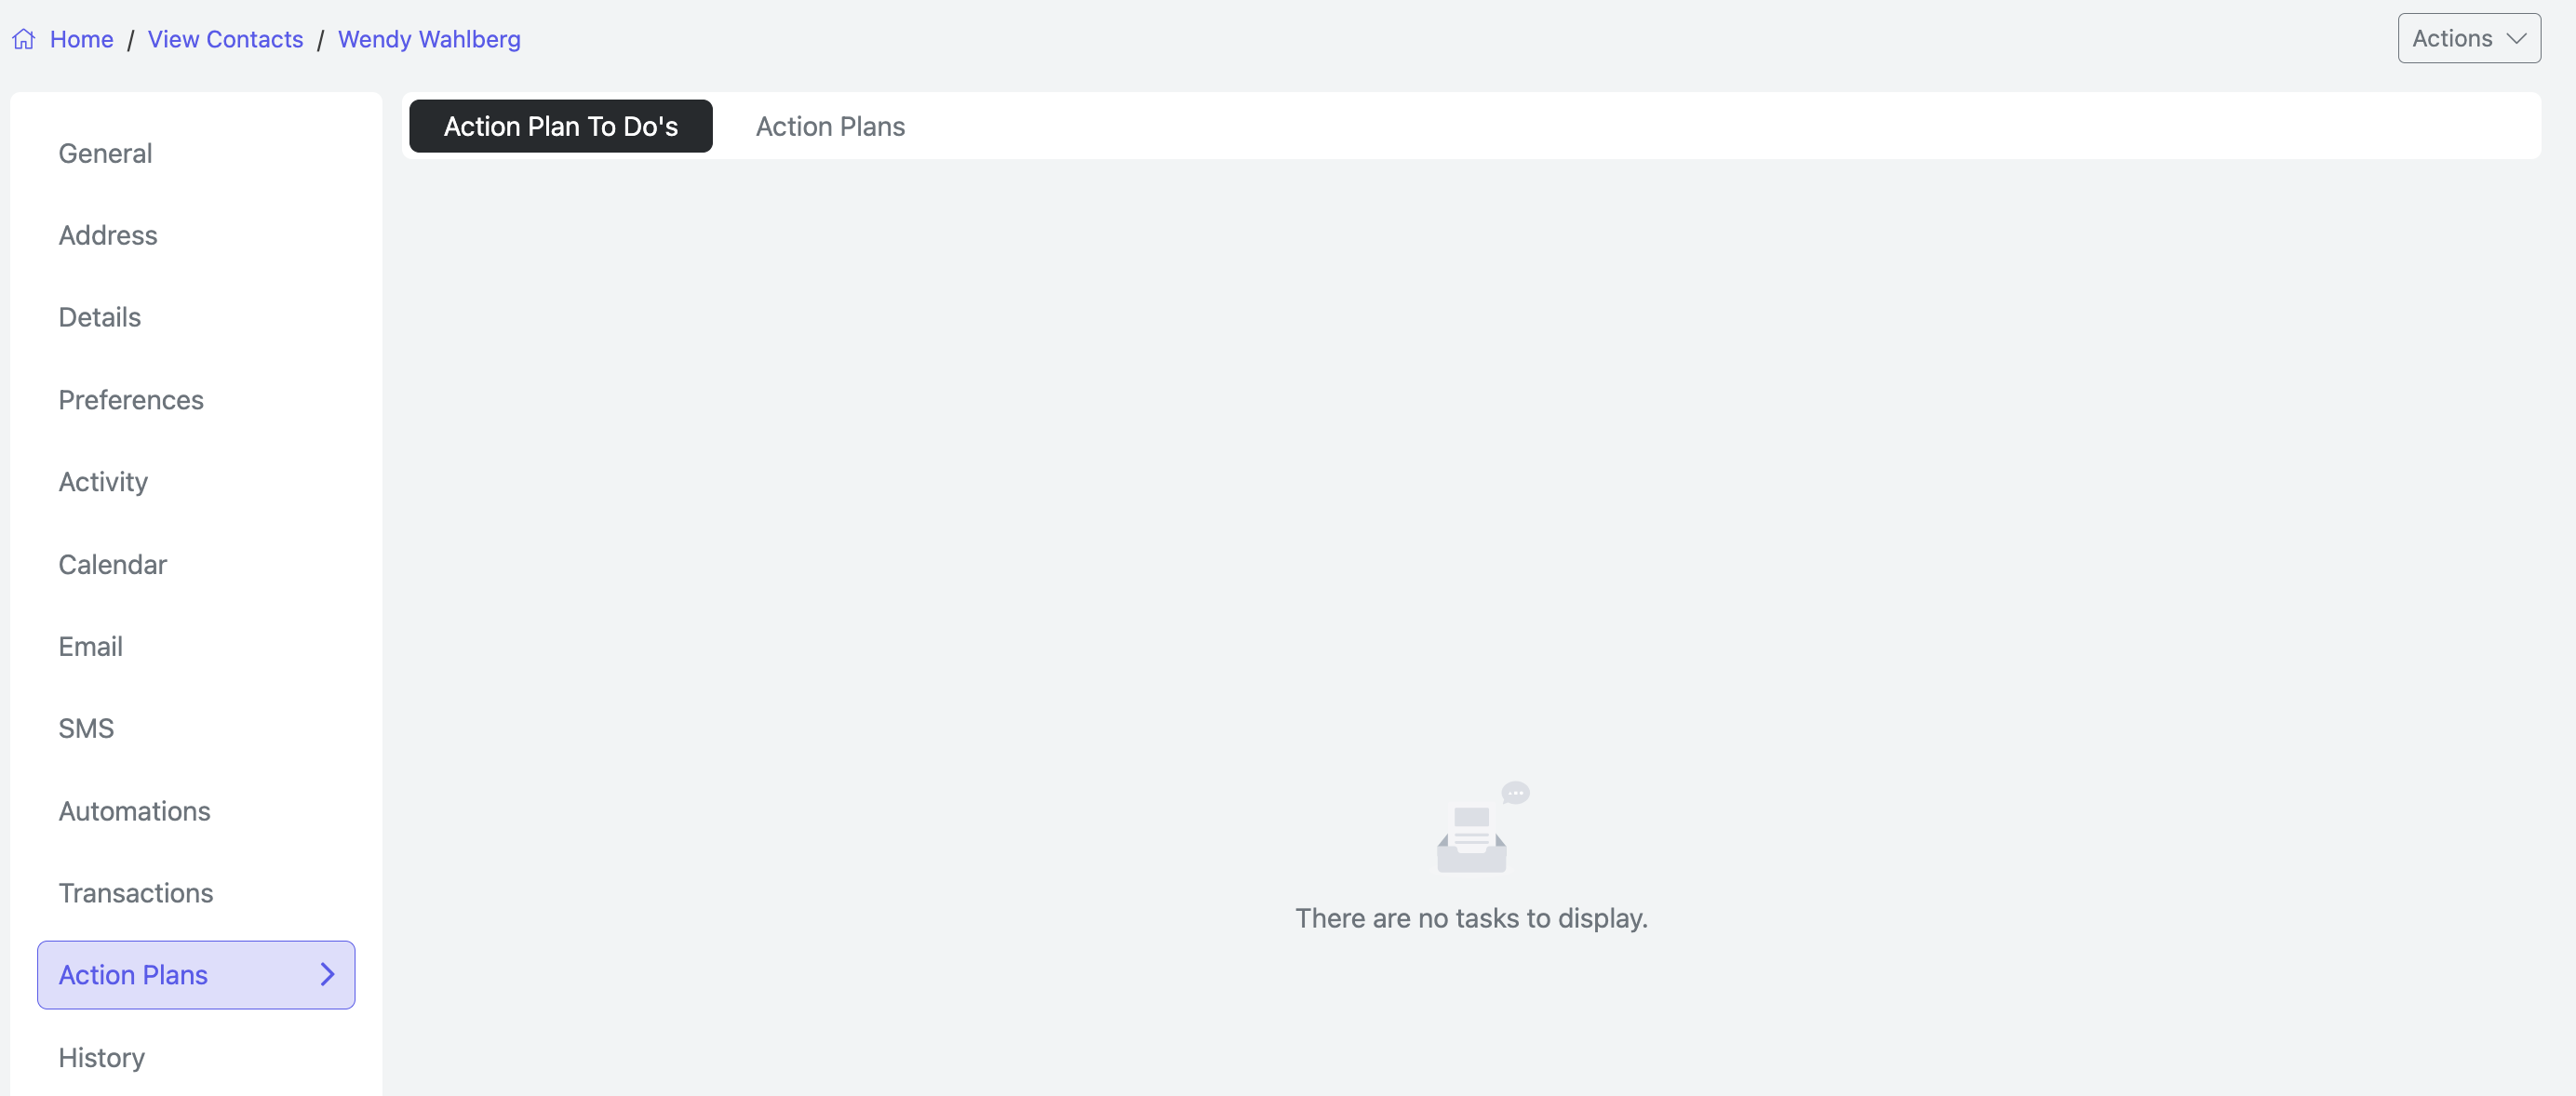
ACTION PLANS
Within the Action Plans tab, you can view:
Action Plan To-Do's - summarizing:
Tasks that need to be completed
Tasks already completed
Tasks that are overdue
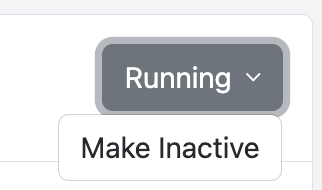
Action Plans - View the Running or Inactive plans assigned to the contact.
To stop an action plan, click the dropdown from Running and select Inactive.
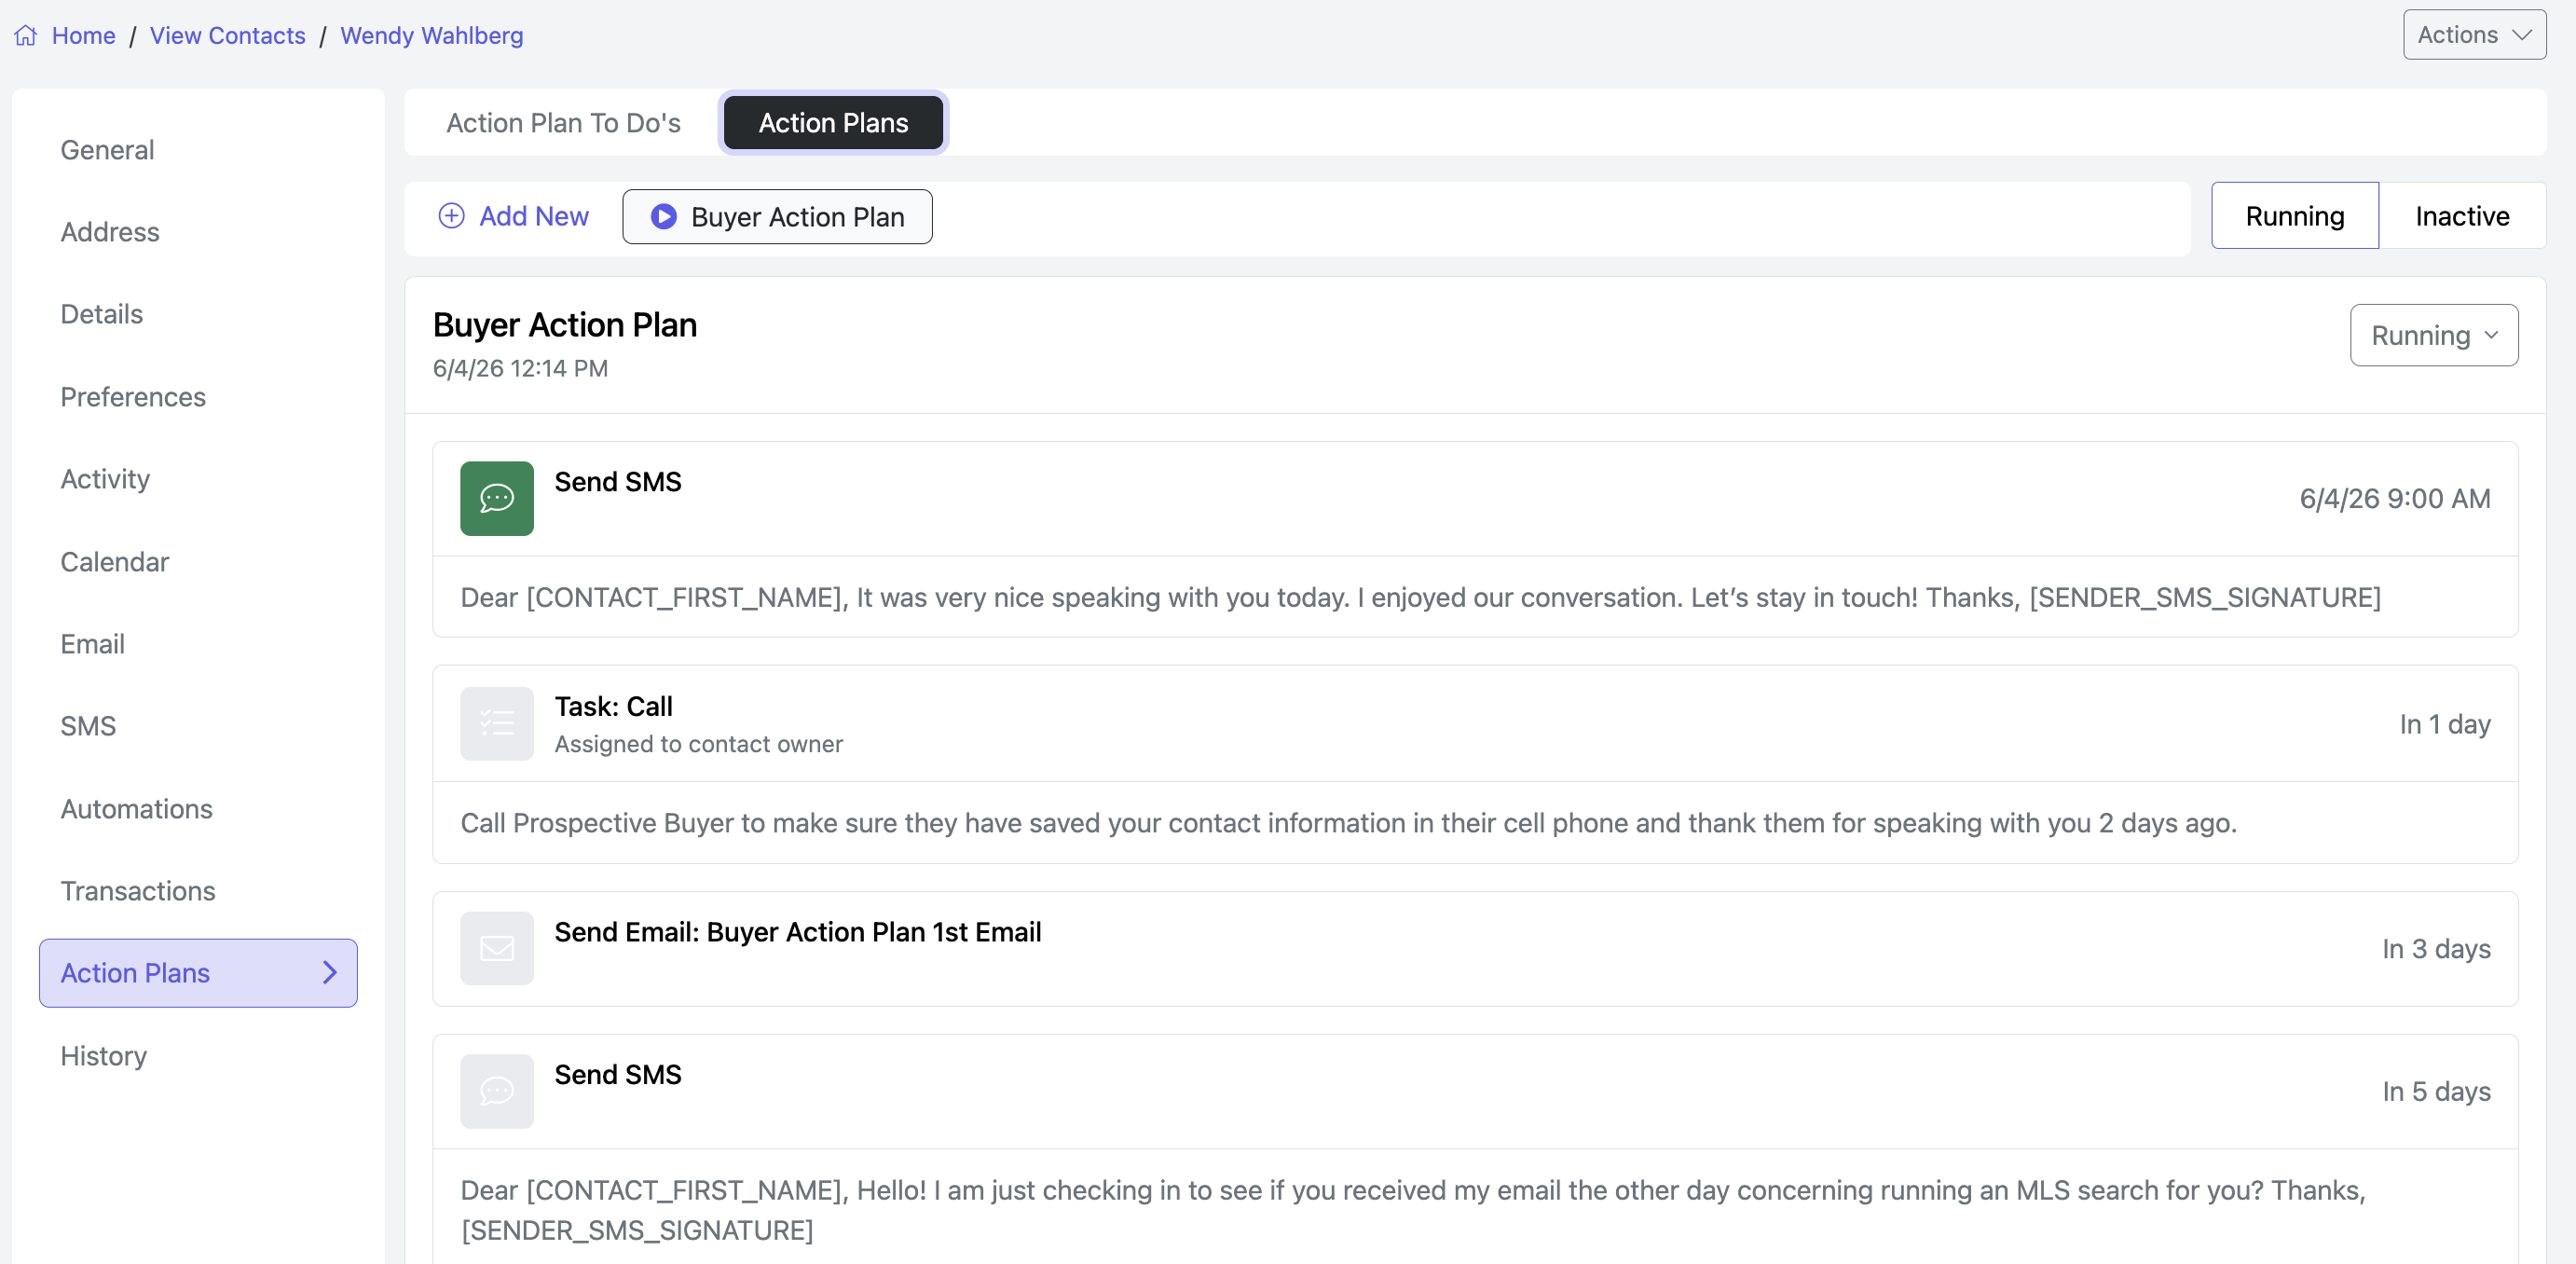
Adding an Action Plan to a Contact
Click the blue +Add New button.
Make your selection and click Okay at the bottom
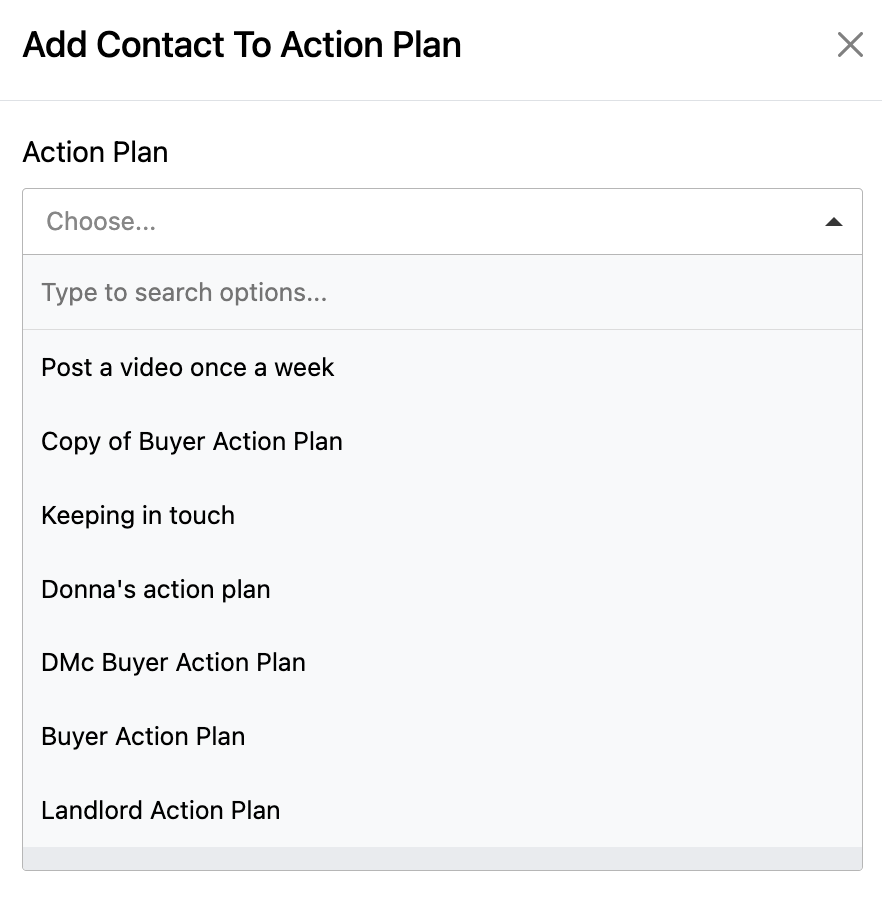
Note: You are adding a pre-existing Action Plan—new plans cannot be created here.
To create a new one, go to CRM > Action Plans.
CLICK HERE for creating Action Plans.
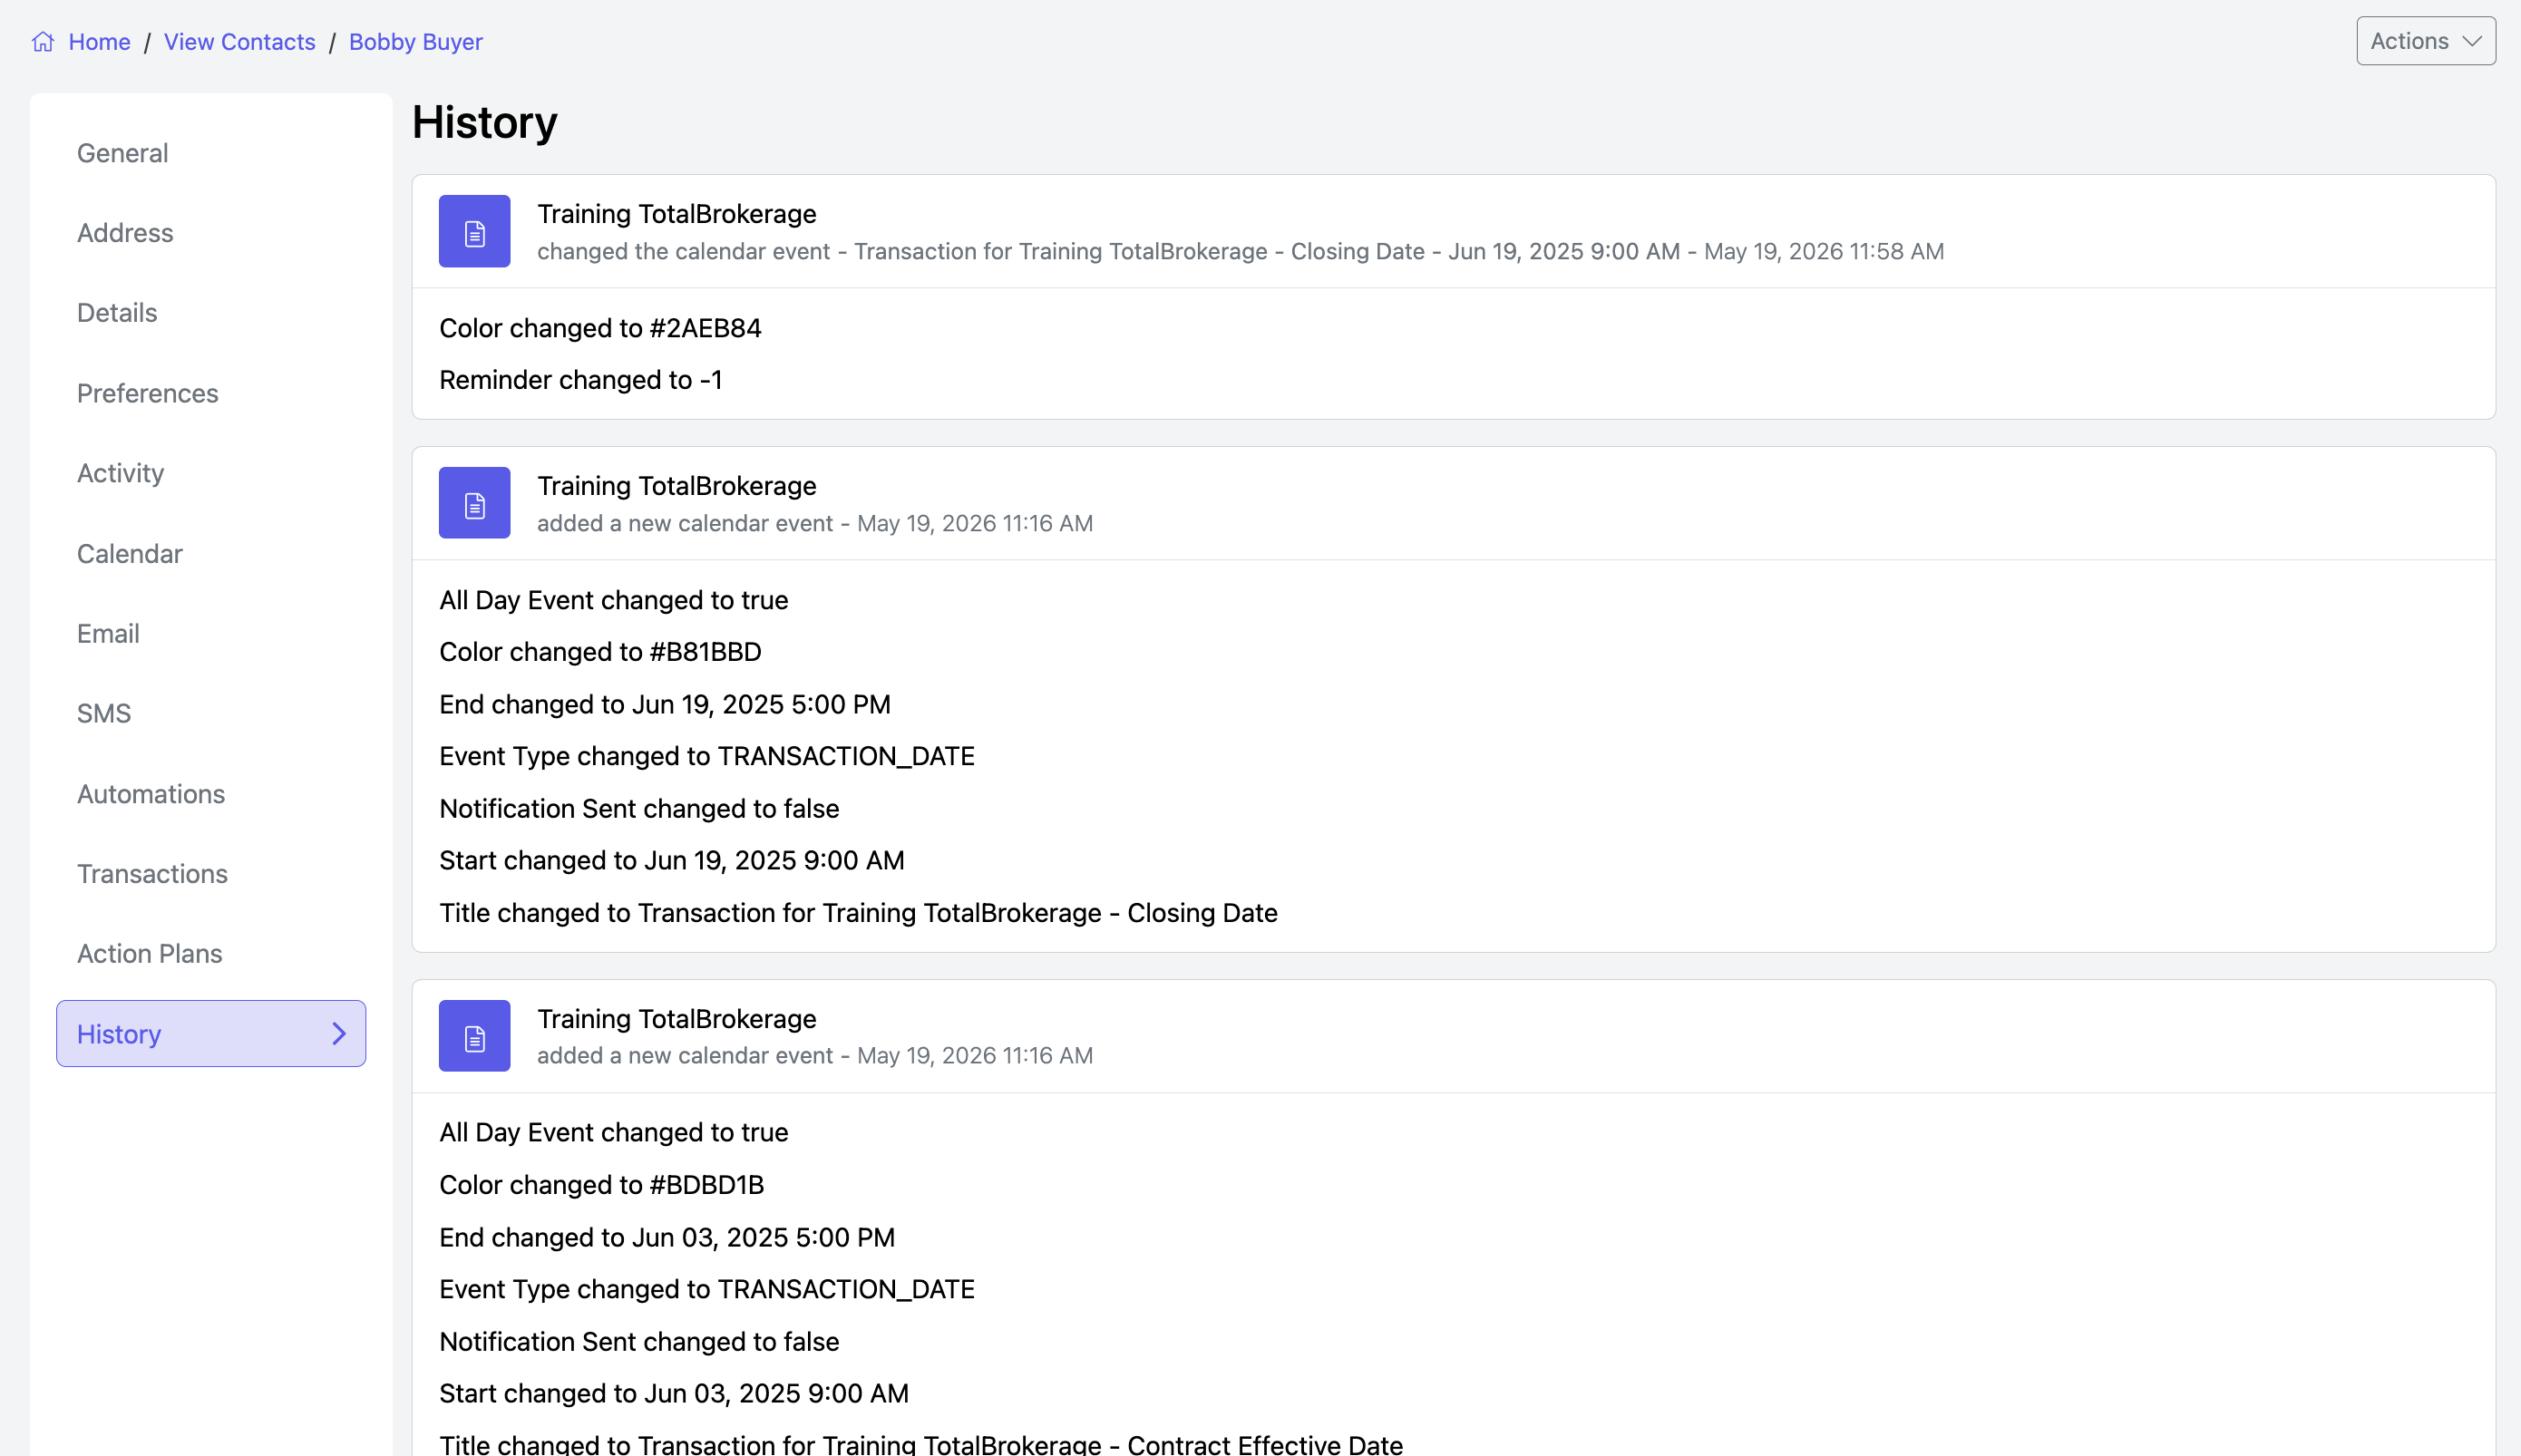
HISTORY
The History tab keeps track of every keystroke that you save inside this contact.
If you change any general information, for example, it will show when, what and who changed the information.
This information is not able to be edited.
NOTE: If your current plan does not include CRM functionality and you would like additional information, please email Support@TotalBrokerage.com.