
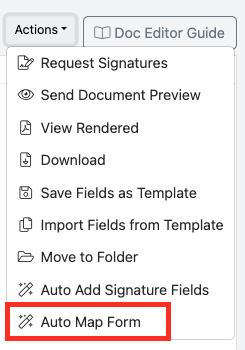
The Actions dropdown menu within a document includes the following options:
- Request Signatures – Send the document out for electronic signatures.
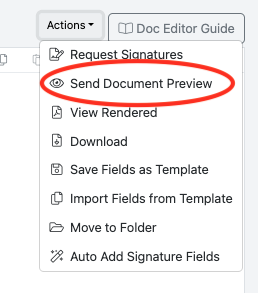
- Send Document Preview – Email a preview of the document without signature fields.
- View Rendered – View the completed version of the document with all merged data.
- Download – Download a copy of the document.
- Save Fields as Template – Save the current signature and initial field layout as a reusable template.
- Import Fields from Template – Apply a previously saved field template to the document.
- Move to Folder – Move the document to a different folder within the transaction.
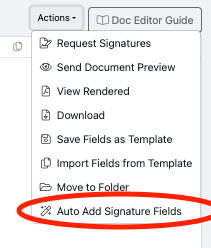
- Auto Add Signature Fields – Automatically place signature and initial fields on supported documents.
- Auto Map Form - Automatically place text, checkboxes, initial and signature fields.
REQUEST SIGNATURES
CLICK HERE for complete instructions and additional details.
SEND DOCUMENT PREVIEW
Need to send a document to someone for review only? Use Send Document Preview.
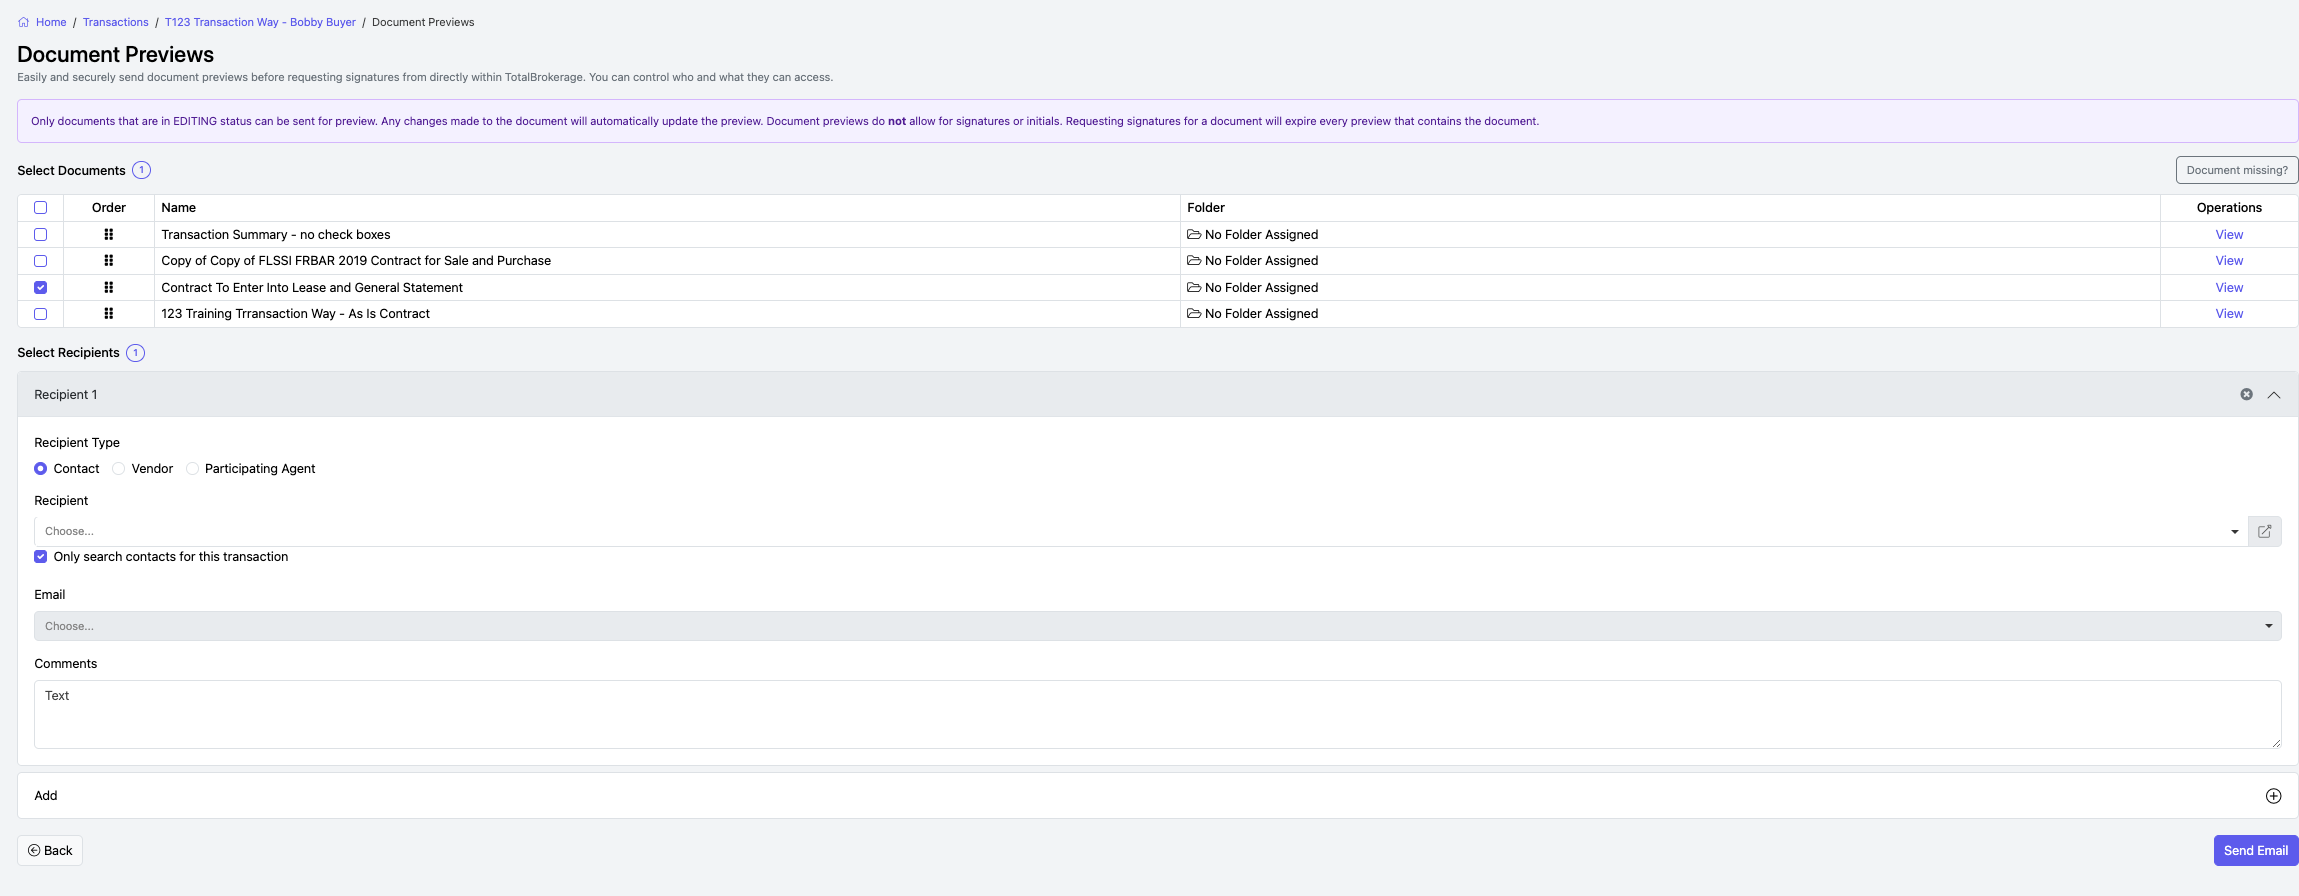
Just like sending a signature request, you'll follow a few simple steps:
- Select the document(s) you want to send. (The document you're currently viewing will automatically be included.)
- Select the recipient(s).
- Enter a message or comments (optional).
- Add additional recipients, if needed.
- Click Send.
 The recipient will receive an email with the subject "Document Preview."
The email includes a link to the document, where they can View Documents or Download PDF.
VIEW RENDERED
By selecting View Rendered, the document opens with all merged data and completed fields displayed, allowing you to see exactly how the finished document will appear.
DOWNLOAD
By selecting Download, the rendered version of the document will be downloaded to your computer.
SAVE FIELDS AS TEMPLATE
If you've added signature fields, initial fields, text, or other annotations to a document and would like to reuse that layout on future documents, select Save Fields as Template.
When saving the template, you'll:
- Enter a Template Name.
- Choose the Owner of the template:
- Anyone in the brokerage can use. Only managers can update. – The template is available to all users in the brokerage, but only brokerage managers can make changes.
- Anyone in this office can use. Only managers can update. – The template is available to all users in the office, but only office managers can make changes.
- Only this account can use. – The template is private to your account.
Note: Once the owner is selected and the template is saved, the ownership setting cannot be changed.
IMPORT FIELDS FROM TEMPLATE
MOVE TO FOLDER
AUTO ADD SIGNATURE FIELDS
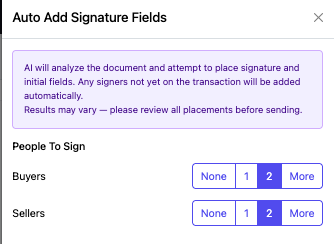
If your document requires multiple signature and initial fields:
- Select Actions.
- Choose Auto Add Signature Fields.
- Select the number of signers.
- Click Add Signature Blocks.
Signature and initial fields are automatically placed and assigned to each signer.

AUTO MAP FORM
Add text, checkboxes, initial and signature fields in one step.
- Select Actions.
- Choose Auto Map Form
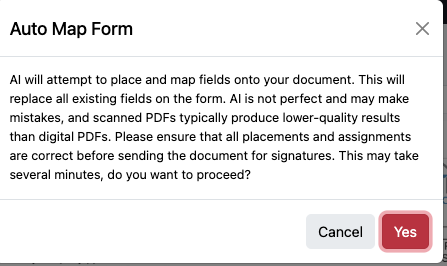
- Click Yes when prompted.
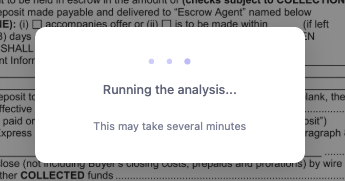
- Progress boxes will display as the form goes through the mapping process. Please be patient as this may take some time depending on the number of fields and pages of the document.
- Fields have been added. Click X in the green box.

- Click Save.
- NOTE: Review the form to confirm that all fields are in the correct locations and assigned to the appropriate signers before requesting signatures.